SbarkFun
Pooch-inspired projects for SparkFun's four-legged besties
One of the many perks of employment with SparkFun is sharing the work day with your dog. My pup hasn't yet gotten used to all the sights and smells at SparkFun, but I know once he does he will calm down and be the lap dog he is at home. His excitement and noise-making abilities here in the office know no bounds. Through the use of electronics I think I can facilitate a much-needed change. I think our Tech Support team would be grateful as well. (Howdy, neighbors!)
Meet Moose
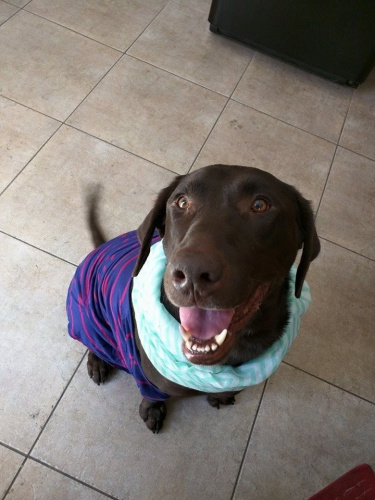
This is Moose, my Chocolate Lab-ish. He loves his fashions, which is why I thought he would make a great furry Frankenstein to help me create and bring new life to my DIY electronics adventures. I can test new ideas on him and eventually get him sitting pretty and behaved. But he has only proven to be adorably destructive so far.
Let me start with his tail. His naturally embedded canine whip breaks and bruises anything and everything around coffee table height. He is a happy dog, and if someone walks by to give him a pat on the head or a scratch on the rear, that tail is destroying bodies. Next is the constant jumping. When he jumps he is about 5 feet 3 inches, and he will make sure your face is well moisturized by the time he is done greeting you. What can be done besides the conventional training that a normal dog guardian would pursue?
The Potential Projects
As fun as coming up with projects for Moose has been, coming up with the names has been the real treat. Here's what I have come up with so far:
1. Ground Dog Day - Train your dog to stop jumping through repetitive reinforcement.
2. Energy Harvesfur - Uses the happy power of your dog's tail to light some LEDs using piezo sensors
3. Pardon My Interuffion - Receive a push notification if your dog barks when you are away.
4. Reptile-Free Intelligent Door (RFID) - Keep unwanted creatures from venturing through the dog door.
5. Lab Cam - Get a dog's eye view of a typical work day at SparkFun in 30 seconds.
Ground Dog Day
This is the only project that survived ... kinda. I've attempted the Energy Harvesfur, which has been scrapped, and the Lab Cam and Pardon my Interuffion are still works in progress. In the home stretch preparing for this blog post, the guts of Ground Dog Day were ripped apart by Moose's enthusiasm. Luckily, I document.
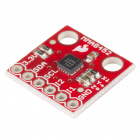
This project is inspired by Moose's habit of jumping when he sees anyone. The idea was to fasten a gyro/accelerometer breakout board to one of his ankles. If changes in the accelerometer's landscape state changed, that meant he was jumping. This would trigger a .WAV file to play "No Jumping" from an SD card.
The Prototype
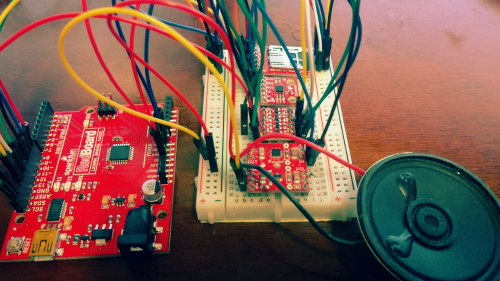
The accelerometer was to be mounted in a "Portrait up" state, and when the accelerometer was "flat," this meant Moose was jumping.
Hardware
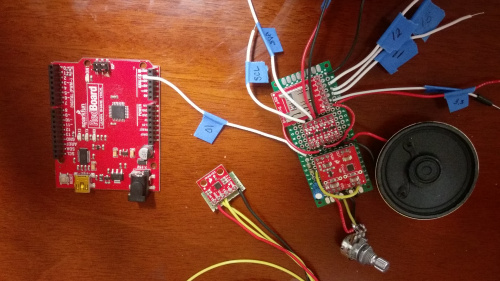
The prototype was successful, so I then created a wiring harness and placed all the parts except for the accelerometer on perf-board to get the project as compact as possible. I added flags to wires that would be removed when I needed the microcontroller for something else.
Parts
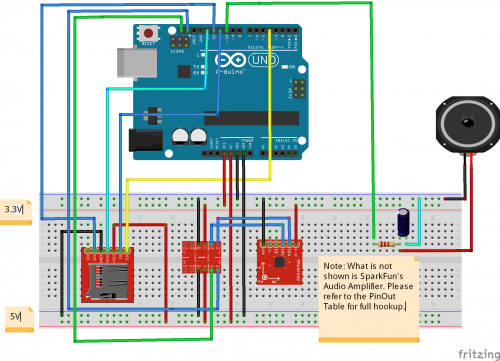
Making the connections
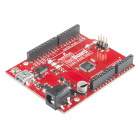
| SFE RedBoard | uSD Card BOB | MMA8452Q BOB | Logic Level Converter | Audio Amplifier |
| Digital Pin 4 -- CS (SDCard) | VCC -- 3.3V | 3.3V -- 3.3V | LV1 -- SCL (Accel) | In+ --Integrator |
| Digital Pin 10 -- Input of Integrator | CS -- Digital Pin 4 | SDA -- LV2 | LV2 --SDA(Accel) | >In- -- GND |
| Digital Pin 11 -- D1(SDCard) | D1 -- Digital Pin 11 | SCL -- LV1 | LV -- 3.3V | PWR+ -- 5V |
| Digital Pin 12 -- DO (SDCard) | SCK -- Digital Pin 12 | I2 -- NC | GND -- GND | PWR- -- GND |
| Digital Pin 13 -- SCK (SDCard) | DO -- Digital Pin 12 | I1 -- NC | HV1 -- SCL (RedBoard) | Out+ -- Speaker + |
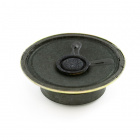
| SCL -- HV1 | CD -- NC | GND -- GND | HV2 -- SDA (RedBoard) | OUT- -- Speaker- |
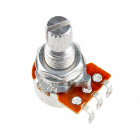
| SDA -- HV2 | GND -- GND | HV -- 5V | Volume --Potentiometer | |
| GND -- GND |
There is still one more piece of hardware to hook up, and that is the integrator.
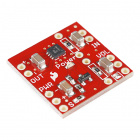
We are using the PWM function on pin 10 for analog output, so we have to condition the signal for that. It is a handy filter when you do not have a DAC to use with a tool such as the Arduino Uno. It makes it possible to add audio without getting another piece of hardware.
Software
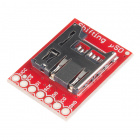
You first need to create a .WAV audio file and format your microSD card. I set the sample rate of the audio file to 16000 and formatted the SD card to FAT32. I created the audio file by recording my voice using the built-in microphone and recorder from my laptop. I used an online tool to convert the .WMA file to a .WAV file. I then opened it in Audacity to clip and re-sample, exported the file to my newly formatted SD card and began to code.
Extra debugging software was added to make sure the SD card was initialized properly. This piece of code actually combines two separate pieces of code, one written by Jim Lindblom for the accelerometer, and one written by "TMRh20" as found on GitHub. Please note that the CPP files from the TMRpcm library have been edited to accommodate my project. You can find the edited version of the CPP along with the code below here.
So that is my first pet project. I have two more in the works, and I can tell there will be many more.
