Battery-Powered Fluorescent Lights and UV
I decided to convert an old inspection light into a rechargeable mobile blacklight, and played with some other types of UV light while I was at it!
I recently came across this excellent video by Electronics YouTuber "Big Clive" about the differences between UV-A, UV-B and UV-C light. If you have a minute (or 24) then you should check it out; it's pretty interesting!
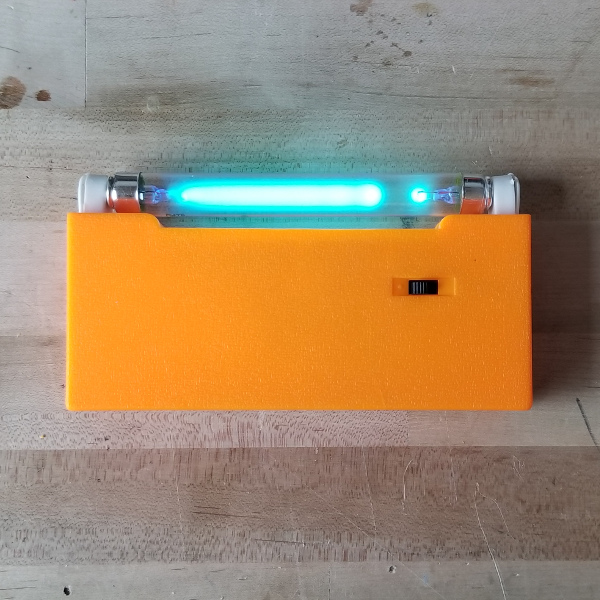
If you don't have half an hour to learn about the UV spectrum, I guess I don't blame you, but here is the gist of the video: There are a lot of different types of fluorescent lamps available online that are all labeled as "UV" lamps. Some of them are what you might traditionally call "black lights," but some of them are slightly more sinister. Big Clive relays the story of a HYPEBEAST event where an uninformed designer used UV-C lamps in a number of booth fixtures because of their admittedly very cool and futuristic, ghostly blue glow. This had the unfortunate side effect of leaving many in attendance with sunburn and welder's flash...from attending a fashion event.
You see, as Clive explains in the video, UV light comes in a few different flavors. The first is UV-A at 315-400nm, which is not particularly harmful and is the kind of radiation that makes up most "black light" effects. Next is UV-B at 280-315nm, which is the kind that's largely responsible for sunburn (and, not surprisingly, is the kind of UV generated by tanning lamps). And then there's UV-C at 100-280nm, which is kind of nasty. UV-C is used for sterilization in air and water circulation systems, and can cause skin burns and eye damage. It's not a problem for us in nature because it can't penetrate the atmosphere to reach us from the sun. The fluorescent bulbs that are designed to radiate UV-C have to be made from quartz glass just so the light can get out; normal glass tends to be fairly opaque to UV-C. In the video, Clive shows off a few different kinds of fluorescent bulbs that are available cheaply on eBay that generate different kinds of UV light.
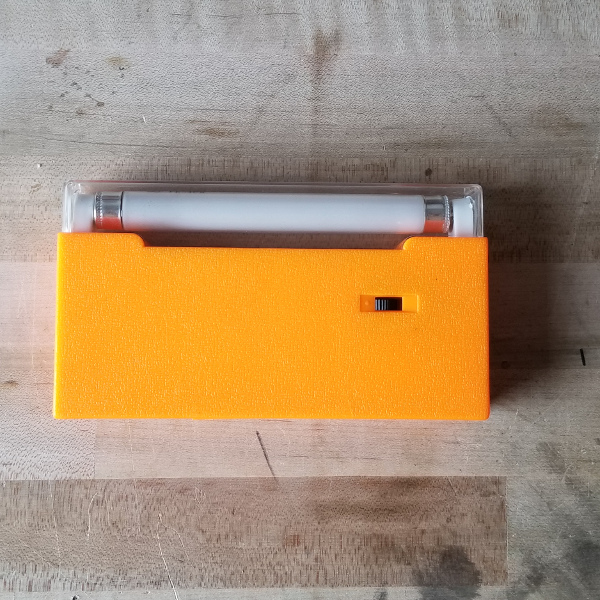
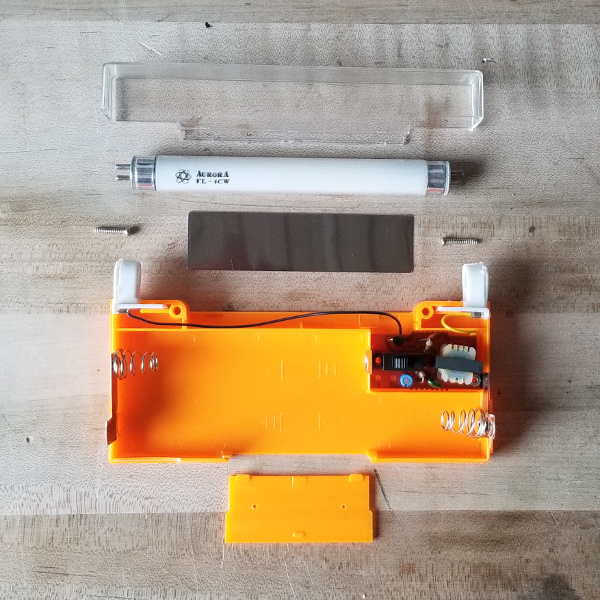
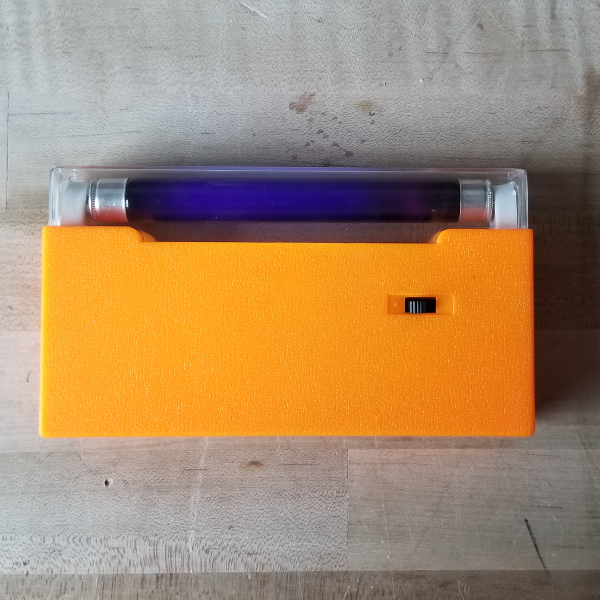
Around this same time, someone at the office was getting rid of a small fluorescent inspection light. This is a sort of battery-powered thing that illuminates one 6" tube. I snatched it up and immediately started to convert it from running on alkaline batteries to running on rechargeable lithium batteries. After all, who has a bunch of "C" batteries laying around anymore?
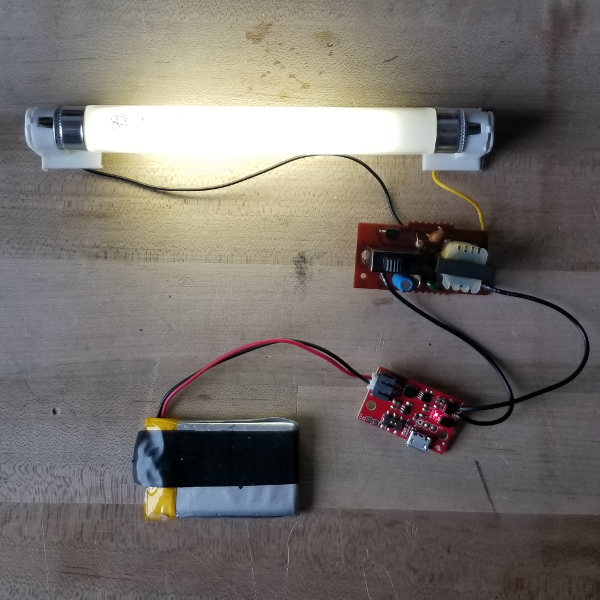
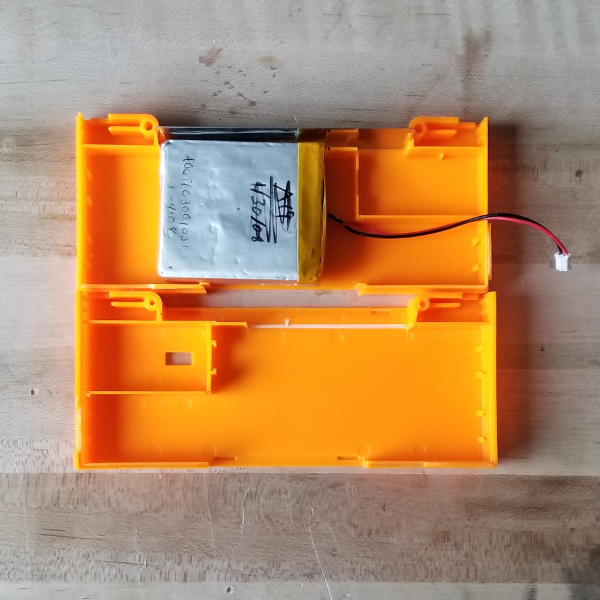
My first step was to pull the enclosure apart and connect the battery contacts directly to my bench supply. This way, I could vary the input voltage and find out what the circuit would tolerate. Of course I could count how many batteries were supposed to fit in there and multiply it by about 1.5VDC, and in fact I did in order to figure out a starting point. What I was really interested to find out, however, was whether it would be happy to operate at some multiple of 5V, so that I could use one of our Charger/Booster Boards to run it on a lithium ion battery. Luckily, there was already a cool white bulb in the lamp so I could tell whether the circuit was actually striking the bulb and, surprisingly, it had no trouble at all striking at 5V. The lamp may not be as bright as if it were running at a little higher voltage, but it's plenty bright enough. I had to make a few subtle modifications to the enclosure to get the giant 6AH battery to fit, and also to allow the insertion of a USB cable for charging, but it all went back together with no signs of tampering.
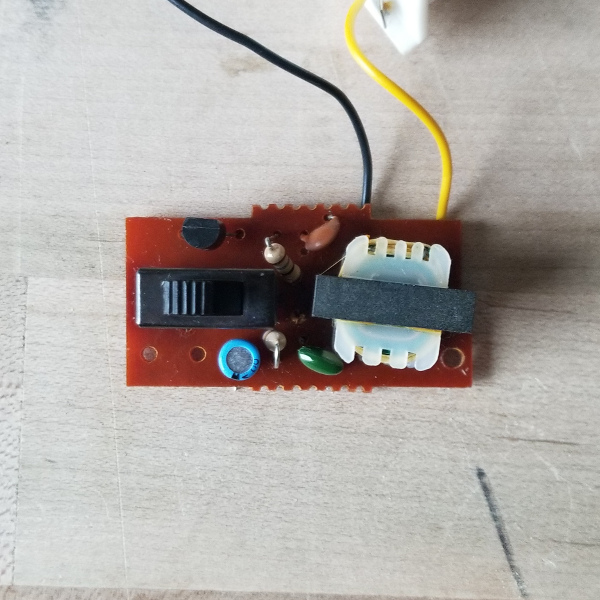
As for the circuit that allows a handful of alkaline batteries to power a fluorescent light bulb, here's a look at the board that was in this lamp:
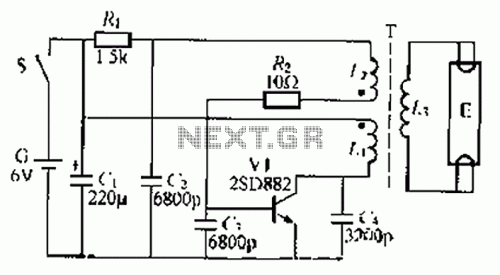
It looks to me to be an application of this classic circuit:
This is a very simple lamp driver inverter. The transistor is used to set up an oscillator, which switches current from the batteries across two return paths, starting from the center tap of a transformer winding, back through one side and then the other. This switching back and forth on the primary winding produces as alternating current on the secondary, or output, winding of the transformer. If the transformer is wound correctly, the output voltage will be much higher than the direct current found on the primary side.
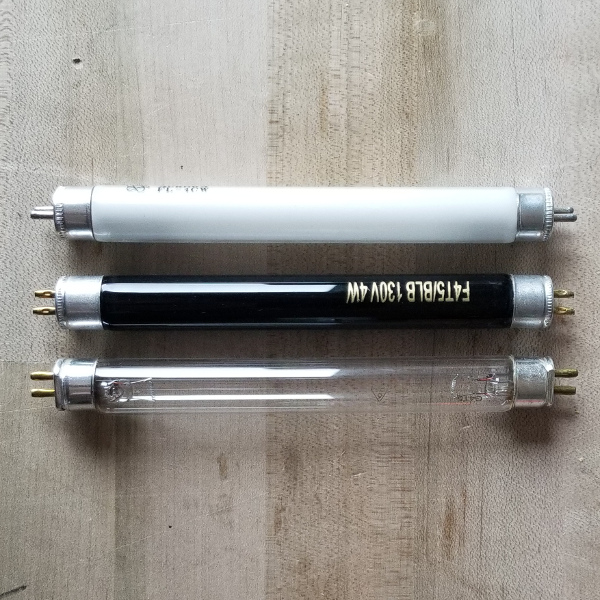
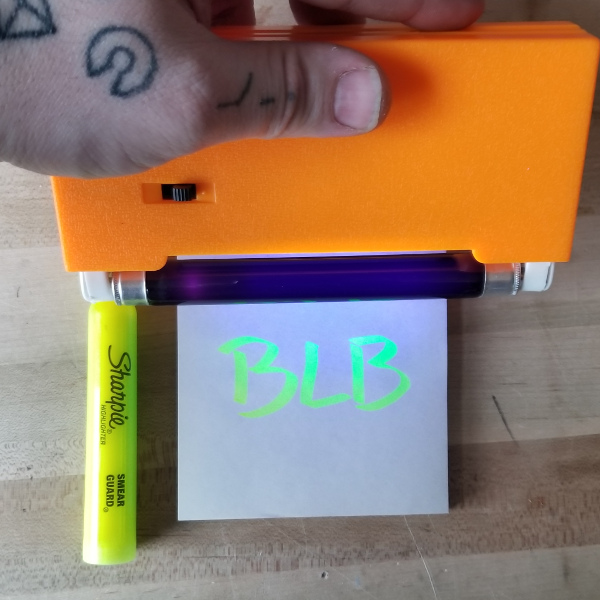
After watching the Big Clive video on UV lamps, I had already ordered a few bulbs in the correct size for this lantern: A "BLB" or Blacklight Blue bulb as well as a UV-C sterilizing bulb. Together, they ran me less than $20 shipped from an online, specialist light bulb store. I was excited to find that both of these bulbs worked fine in my slightly under-powered fixture!
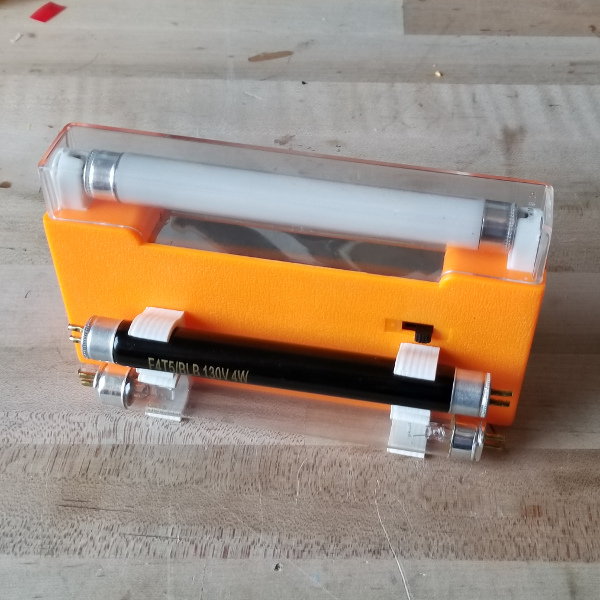
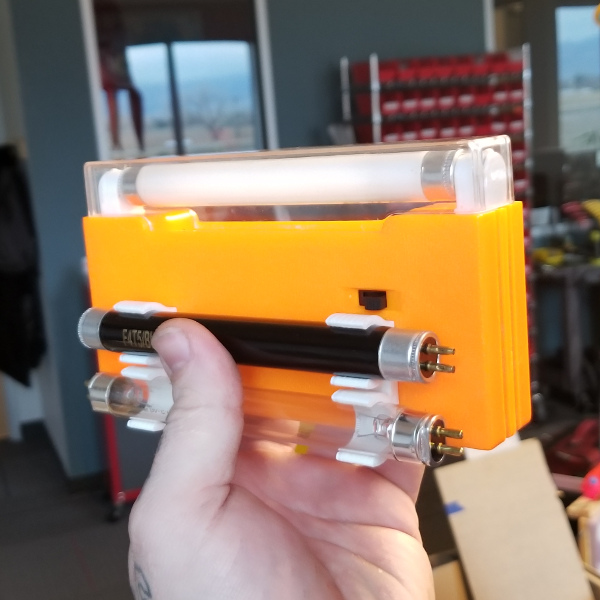
But now I really wanted some way to keep all of these different types of bulbs at hand, so I designed a clip in Fusion 360 that would hold the fluorescent tubes on the side of the enclosure. Essentially, each clip is just a pair of cylinders with an arc missing whose inner diameter exactly matches the outer diameter of the tubes. Two of them would be glued in place on the side of the inspection light and would allow me to quickly clip and unclip a tube whenever I needed. This is what I came up with:
I threw it on the TAZ 5 3D Printer and in about an hour I had a pair of finished clips. To get the alignment right, I clipped in both of my UV bulbs and twisted the whole assembly until it was straight. Then, with the bulbs still in place, I glued the clips to the enclosure using some CA glue.
I think this little hack turned out nicely. Sure it wasn't a complicated project, but they don't all have to be. This lamp, especially the blacklight tube, will come in handy when trying to identify materials or test light filters. The UV-C lamp probably doesn't have a lot of practical use in this configuration, but if I ever need a whiff of ozone or a really deep sunburn, I guess it's nice to know I have it handy.
Happy Hacking!
