Experimenting with 3D Printing on Fabric
Read on to hear about my successes, failures and what I learned.
I've been seeing a lot of 3D printing on fabric around on the internet lately. I found this technique extremely intriguing based on my interests in wearables and combining tech and craft, and I was excited to try it using our Lulzbot printers.
Before we jump in, I want to give credit to my inspiration. There have been tons of similar projects, but most credit for the development of this technique can go to David Shorey, who wrote about his work in Make Magazine. His work definitely piqued my interest, but I really decided to give it a go when I saw this necklace on imgur. I loved the idea of not only using this to make a scaling malleable surface, but also to create a visual floating effect against the skin.
I started my experiments by following the processes I read about online. It's pretty straight forward but it does take some finesse. If it was broken down into a step-by-step format it might look something like this:
- Make/download a model and prepare the g-code for the printer
- Start the print
- Pause the print after 2-3 layers have been printed
- Manually move the Z-axis up
- Stretch the fabric over the printed materials
- Manually move the Z-axis back down to one position above where it was before you lifted it
- Resume print
(All prints used standard print settings for the LulzBot Taz 5 with 2.85 mm ABS. G-code was generated using Cura.)
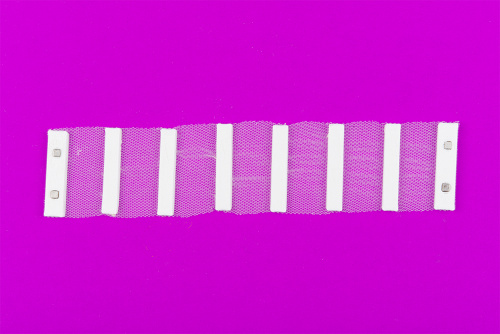
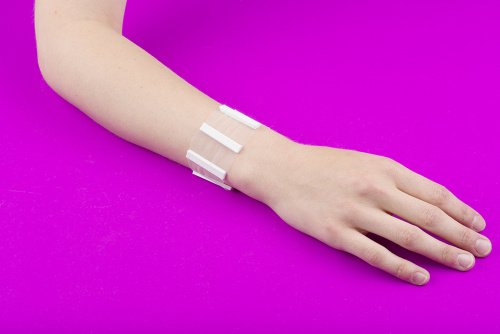
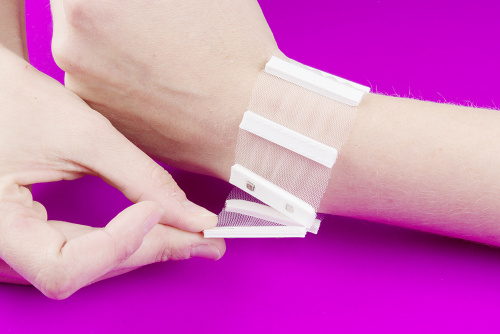
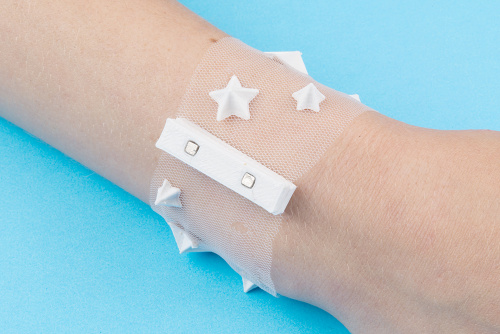
I decided to start making some floating bracelets. The first design was super simple, and was mostly a test to see if my general idea would work. You will notice I used tiny magnets for my clasp, which worked really well.
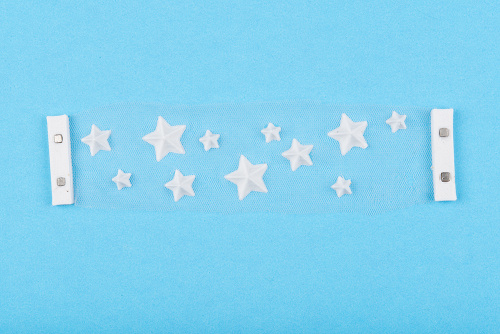
I wanted to make the design a bit more whimsical, so I put a model together with a handful of floating stars. This is where things started to get a little... annoying. It turns out that their sharp angles were having a hard time sticking to the print bed. When the nozzle made a sharp turn, it would start to pick up the filament it had just laid down with it, making a big mess of melted plastic. Because I am not a quitter, I managed to “successfully” print a pared-down version of the design after close to 30 attempts, but it was pretty clear that this direction was not the best for this technique on the printer I was using (calling it a success is a stretch because the print had a few holes and some stars in the model didn’t make it during the final print.)
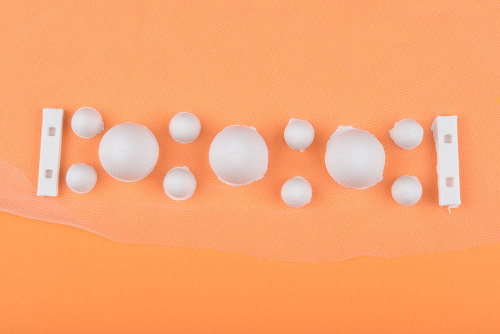
The shapes needed to be more simple, making them easier to print and stick to the bed. At this point I started wondering if I could get just a simple pulsing LED into my printed modules using a super bright white LED, LilyTiny, small battery, JST connector, resistor and a piece of protoboard. I decided that if I included some electronics, each module should be self contained as to avoid shattering the illusion of floating object with wires or conductive thread.
I started this leg of my experimentation by getting a rough idea of how much space a simple circuit and battery might take up and printing a loose design. Something I noticed right away was that the delicate fabric cannot withstand a super bulky module.
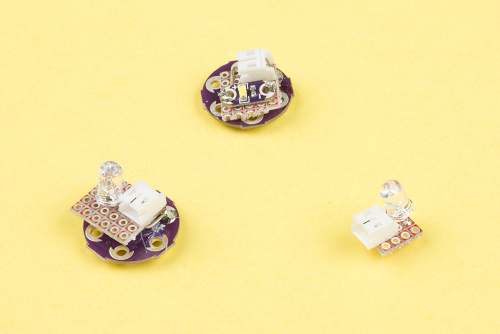
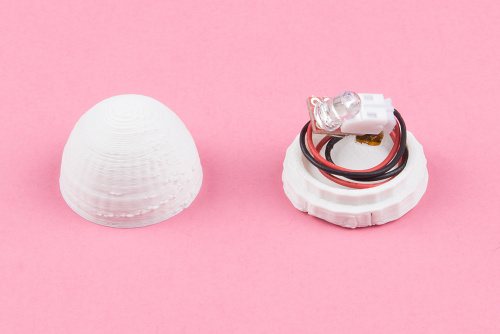
I tried to minimize the size by replacing the super-bright white LED with a flat LilyPad LED. Unfortunately this guy wasn’t bright enough. I decided to let go of the pulsing of the LED to bring down the height of the circuit without compromising brightness, and just go with a a battery, resistor (hidden underneath the protoboard), LED and JST connector to make the smallest circuit possible. Below is an image of my circuit progression.
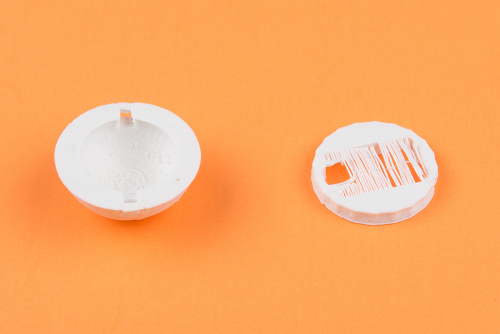
I went through a bunch of iterations with the module design off fabric first, to nail it down before needlessly wasting fabric materials. The module needed to be in two parts - a base and a cap - so that I could easily put the electronics inside, plug the battery into the JST connector for use, access the battery connector for recharging and so on. I probably went through about 10 iterations before I finalized my design. In a few cases I made my walls too thin, and in some too thick. I initially planned to use magnets to secure the two parts of a module, but this meant making the walls a lot thicker than I wanted too.
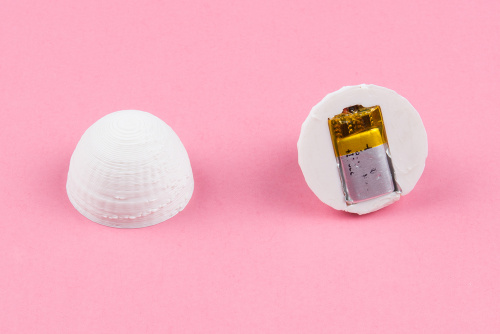
I eventually managed to create a design that would simply use pressure to hold the top and bottom together. I decided to hide the battery in the base to save on some space and keep it secure.
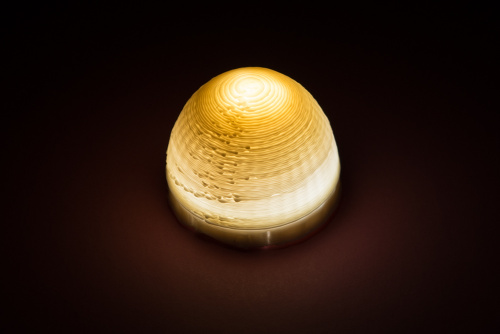
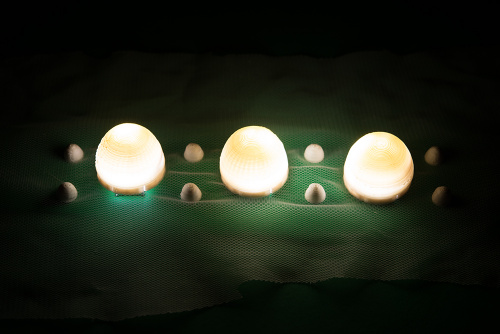
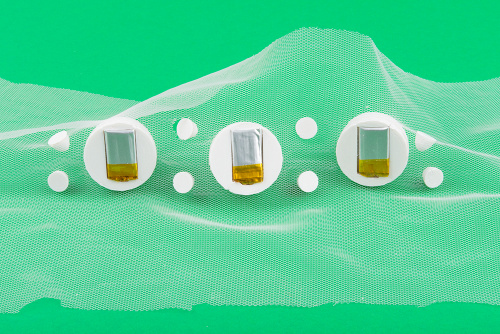
Once I nailed everything down as a free-standing module, I moved on to print on fabric. With all the practice from my previous experiments, I was able to execute a few clean fabric prints pretty quickly. The final result of several electronics modules on fabric looks pretty ok, but I think could be refined a lot more.
I learned a few things about 3D printing on fabric as I developed my designs and tested them out.
First, if you're thinking about printing on fabric, before you incorporate the fabric, print two to three layers first. One layer is not enough; four is probably too much. Second, the fabric needs to be SUPER taught, especially if it’s a cheap nylon like I was using. If the nozzle even grazes the fabric, it will burn a massive hole and basically ruin your entire print. I lost a lot of good fabric to the nozzle drag, which brings me to my third lesson: Don’t bring the Z-axis back down to its original position, but rather one notch above where it had been. The melted extruded plastic will still stick to the layers below and you won't risk burning your fabric as much with that extra space.
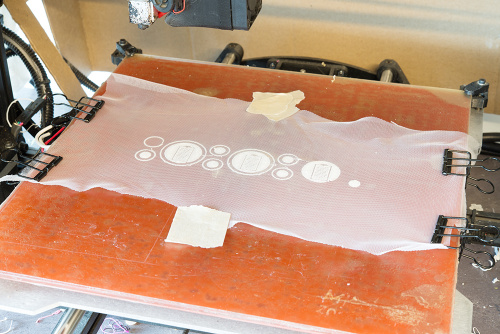
The image below illustrates the technique I used to stretch the fabric on the print bed. I used a combination of binder clips on the edges with some masking/painters tape on the bed to keep the fabric flat against it.
I’m pleased with what I discovered during this process, but I definitely think I could spend a few more weeks finessing the incorporation of electronics - both on the hardware end and on the model design. I definitely think this is the kind of project that might require some custom PCB design, which is a good next step for me!
If you are interested in setting up your own 3D printing work space, check out our 3D printing tools. If you are interested in 3D printing but don’t have a printer, check out your local library or makerspace! If all else fails, you can always order prints online from companies like Shapeways.
Let us know what you think about 3D printing on fabric in the comments below!
