The Return to Shenzhen - Part 3
SparkFun visits various factories and the electronics market in Shenzhen, China.
After checking out a handful of factories on the geek tour in 2009, it was time for me to return to China to visit some of the factories that make goods for SparkFun. I've got far too many pictures and videos for one post so I'm going to break them up into three posts. This is the 3rd post - you can read Part 1 over here, Part 2 is here.
We've done an astronomical amount of business over email. We email a supplier, request 500pcs of something, wire the funds, and the goods show up 6 weeks later. Multiply by a couple years and we've sent thousands of dollars all over the world. We never talk on the phone, and I've never met the majority of folks who supply us with products like cables, LEDs, tools, etc. The purpose of the trip was to meet face to face with a small fraction of vendors located in China near Shenzhen.
Ok, that's a lie - half the trip was about meeting vendors, the other half was about geeking out and seeing how neat stuff is made.
On our 6th and 7th days, Louis and I toured a cable molding company, SeeedStudio and a PCB assembly house.
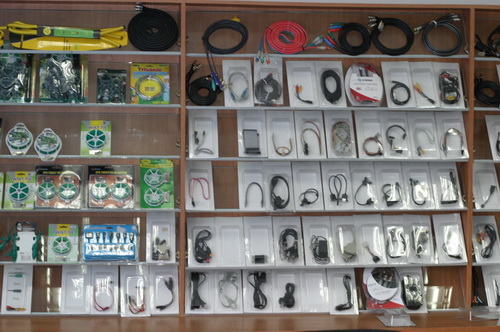
If you've used a USB, audio, IDE, SATA, or phone charger, you've used one of their products.
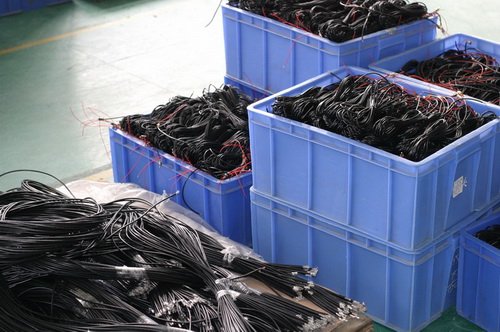
I thought there was some magic to making cables. And while there are some neat shortcuts, cable making is actually what you'd expect: a lot of stripping wire and a lot of hand soldering.
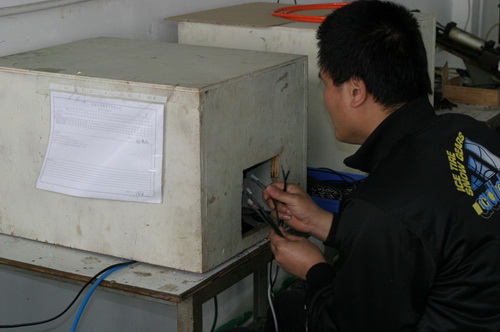
Starting with the raw cable, the outer-sheath is removed. The stripping machine was quite impressive (fast, and no nicks!). This large box is in place to keep the plastic bits from flying all over the shop.
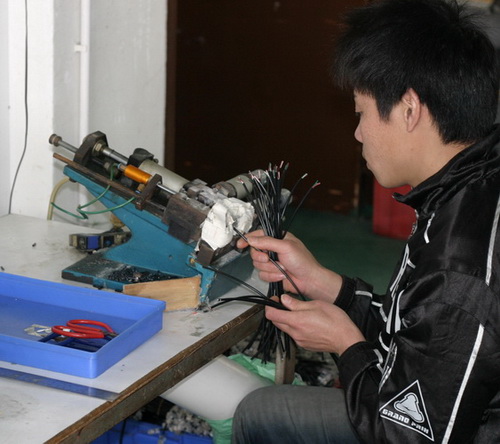
Next the individual wires are stripped. You can get a little better view of the stripping machine in the picture above. It seemed to be a combination of pneumatic and electronic actuation. I've never seen anything like it and desperately want one...
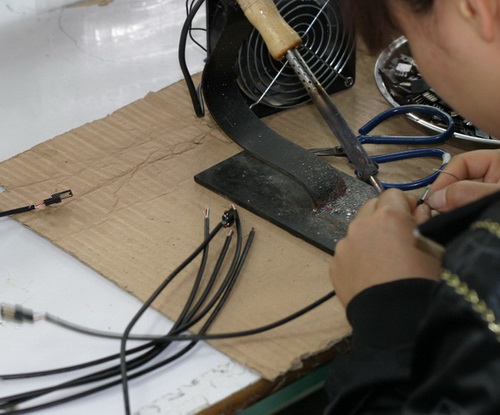
Next the connector (any type you can imagine) is soldered. The iron is permanently held in place, while the connector, wire, and solder are all brought together at the iron tip. Three things, two hands, I still can't make the math work.
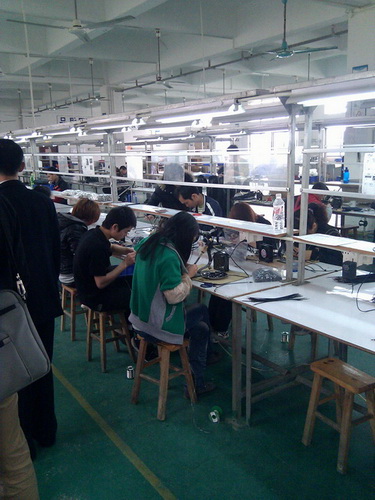
It was a small but very efficient assembly line.
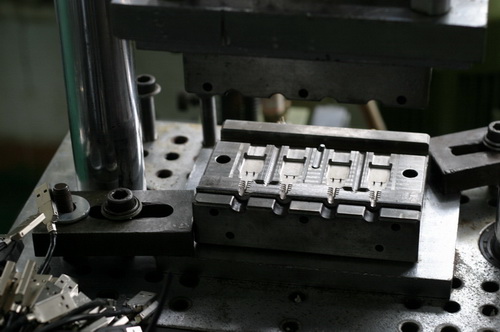
Can you tell what they were making yet? This is one of the 'short-cuts' I was talking about. Stripping wire and soldering I can do at home, but I do not (yet) have my own injection molding machine. This picture shows the lower half of a mold, 4 copies, of a certain cable. The wire and connector are placed into this mold, the mold clamps together, and hot rubberized plastic is pressed (under high pressure) or 'shot' around the connector and wire. This provides excellent stress relief and protection. No longer do we have screwed together cables, now everything is wonderfully injection molded.
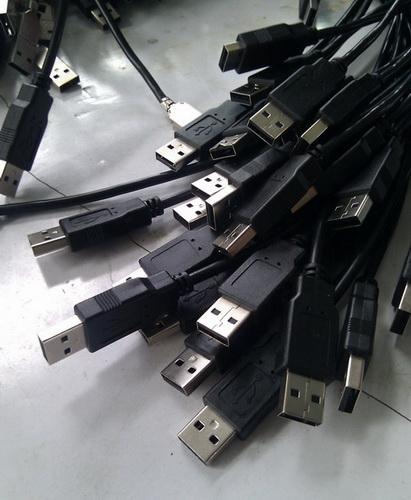
USB cables!!!!!! Ok, it wasn't that hard to tell.
In this video (you may want to watch it in a larger window) they are molding ethernet cables (they had multiple production lines running during our tour). The main worker loads the machine with four bare cables, hits the two green safety buttons (you can't start the machine unless you've got your hands out of the way) and the machine begins injecting the plastic. While the machine is doing that, he loads a second die with four new cables. Once the machine is done, he removes the four cables and hands them to another worker who checks for quality and the process instantaneously begins again.
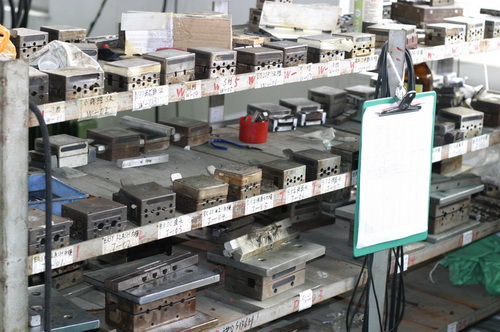
These are some of the many different cable molds: DB9, RCA, iPod, ethernet, USB A/B/mini/micro, audio, HDMI, S-video, DVI, banana, PS2, DIN, SATA, ... you name it, they've molded something like it before.
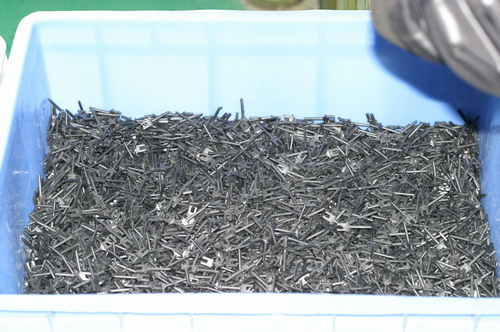
You may have to click on the above image to see, but that is an entire bin full of IC-hook caps. Yep, they make those too.
Here is a rather long video (watch it in a larger window), but you get the sense of how quickly these workers can breakdown and setup for a new build. It's pretty impressive. Around 0:50, he adjusts the IR safety beam. He then takes a few minutes running 'test shots' waiting for the heater to bring the gigantic piece of machinery up to temperature. Once the machine is up to temperature, the plastic pellets (fed in from a hopper at the top) can flow freely into the metal molds.
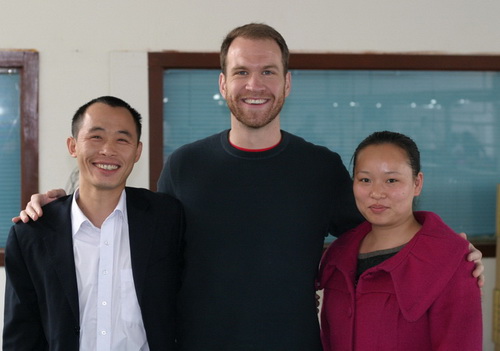
Jim, myself, and Irene. They took excellent care of Louis and me.
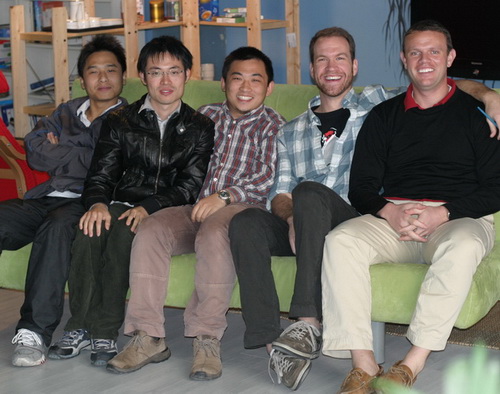
On our next to last day, Louis and I got to catch up with the crew at Seeed Studio. They've been operating out of Shenzhen for about 3 years and have been designing and releasing some pretty innovative products. From left to right: Edward, Steve, Eric, myself, and Louis.
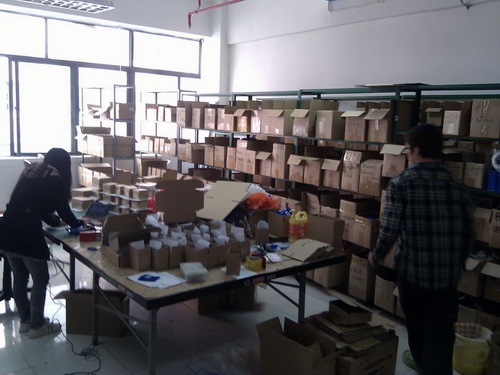
I swear this is what SparkFun looked like once upon a time. Shelves and boxes 'o inventory.
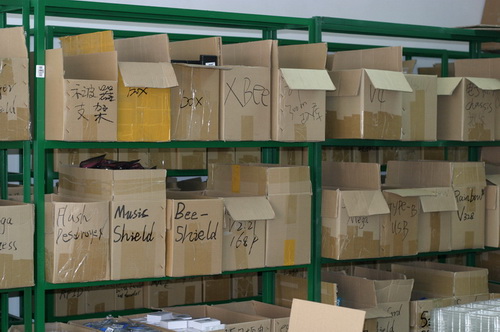
We too were once small enough we could 'just know' where things were. I especially like the box labeled 'box'.
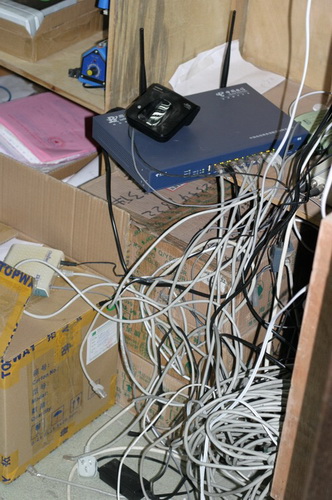
Eric thought I was crazy for taking a picture of his closet but I again had deja vu. I swear our closet looked just like this not too long ago! It's amazing how similar the growing pains are between growing companies no matter the location or type.
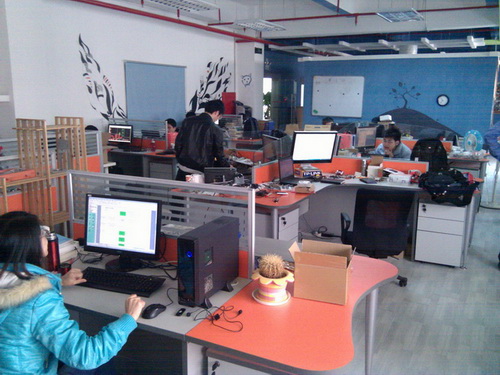
However, we've never had offices as nice as this!
Eric then took us on a field trip. Trip is the wrong word - this PCB assembly house was across the street from their offices! I was more than a little jealous.
Here's another machine I wish we had. This is not quite an automated solder paste stenciling machine. It requires a human to align the stencil with the board, but the actual paste application is done by machine.
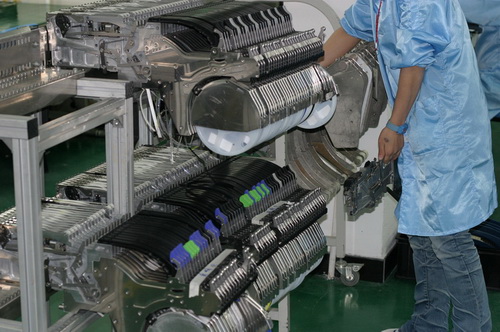
Tape and reels to feed the pick and place monsters.
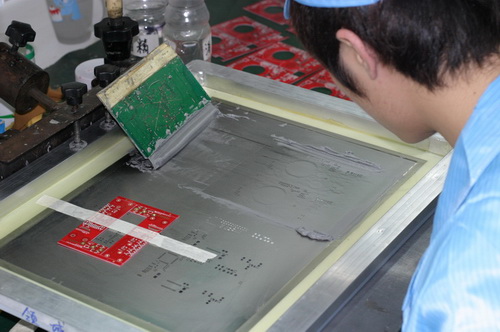
This is a manual solder paste station on a different line. I like how he used a PCB to reinforce the solder paste paddle blade.
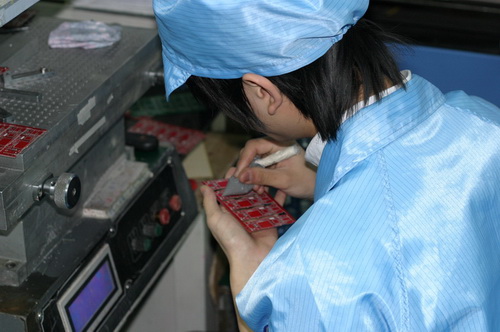
I thought this was genius! Applying solder paste like icing on a cake! Why didn't I think of that?
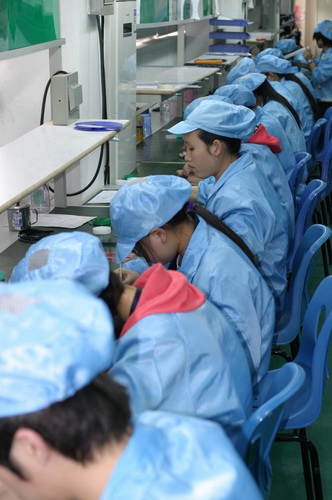
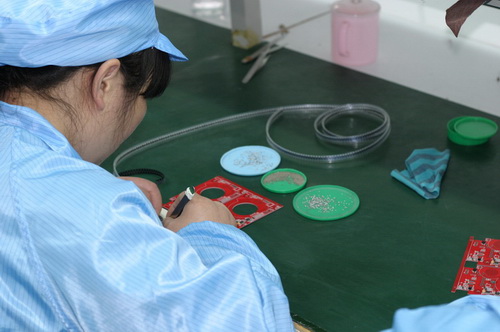
There was the regular pick and place machines, but this line also used good old hand placement. Just like us! But we admittedly don't use such nice hair protection.
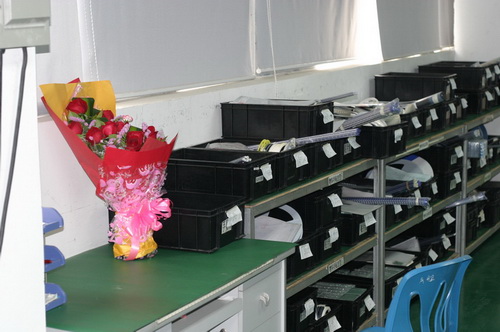
I found this picture to be oddly humbling and ironic at the same time. Everyone needs flowers from time to time, even people who work in electronics.
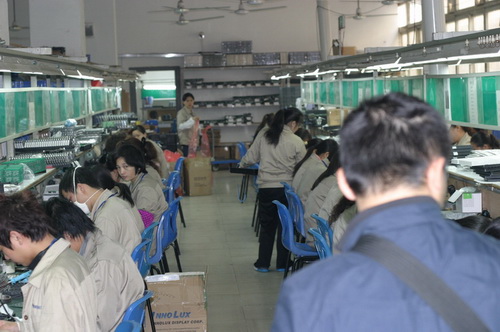
This was one of the larger assembly houses we saw. I counted 12 lines across two floors, running at the same time building all sorts of different things. There was constant activity.
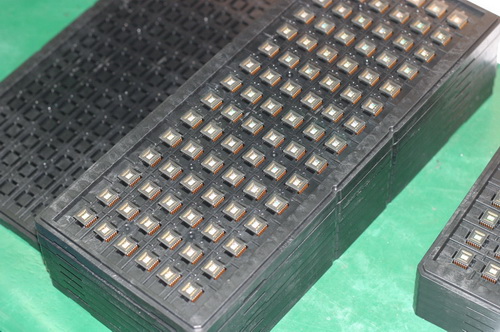
Here are stacks of CMOS imaging sensors.
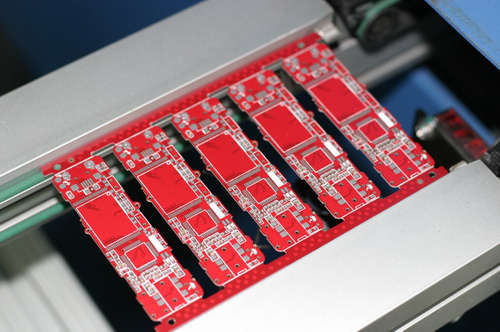
Can you identify the functionality of the board without any parts loaded? It looks like mini-USB, flash memory, IC, 3.5mm audio jack, and a slide switch on one side. MP3 player perhaps?
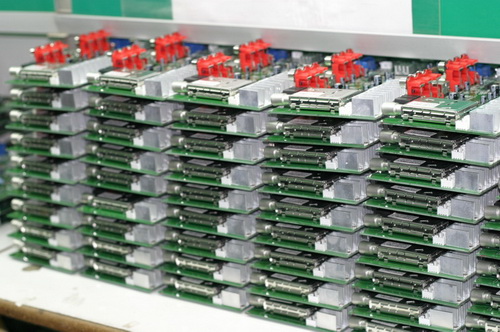
I enjoyed looking at the wide variety of widgets being built. I don't exactly know what this is, but checkout the triple stack of modules. I count three PCB - There's ICs on a board, that is then soldered to a board, that is then soldered to a board. The economics behind this blows my mind.
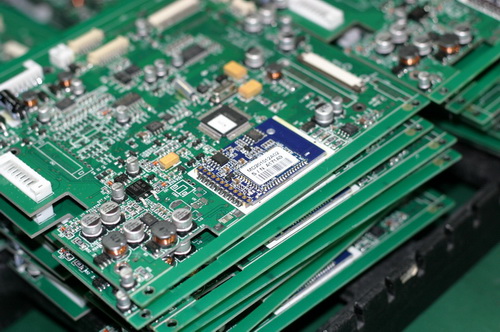
Some sort of video board. A whole stack of them.
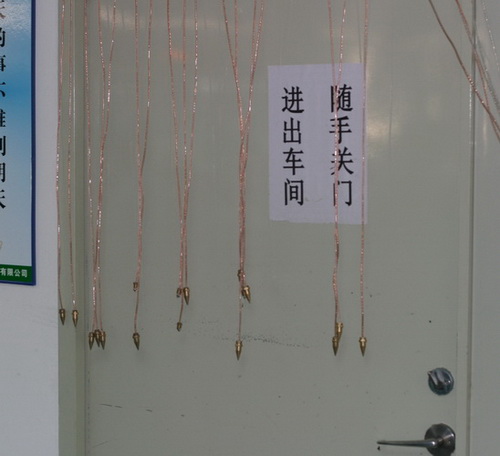
This could easily be a photo-caption contest. I wish I knew what the sign says but we were told the hanging pedants were supposed to act as ESD protection. Hmm...
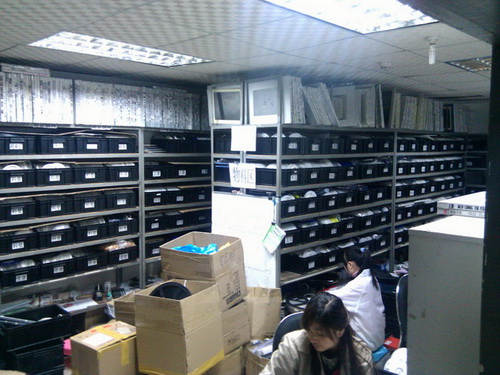
Here is the assembly house' inventory room. Massive amounts of reels of components. Smartly, the paste stencils (accessed less often) are arranged at the top of the shelves. This room was one of four.
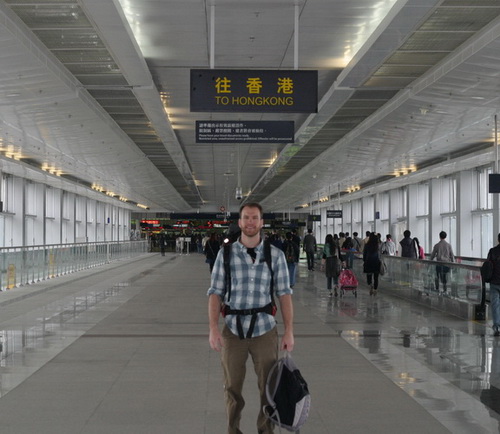
Finally, after many days of meetings, good food and new friends, Louis and I returned to Hong Kong.
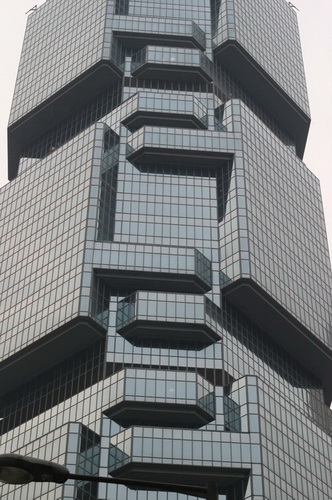
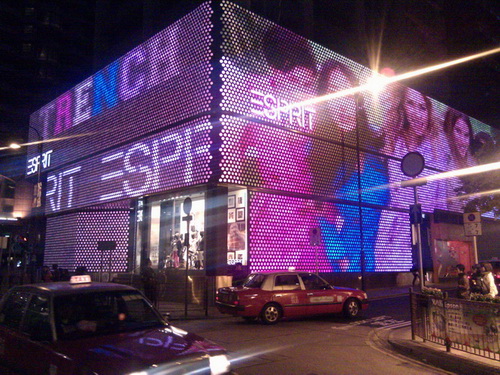
Hong Kong is a few years ahead of Shenzhen in terms of architecture. Beautiful buildings!
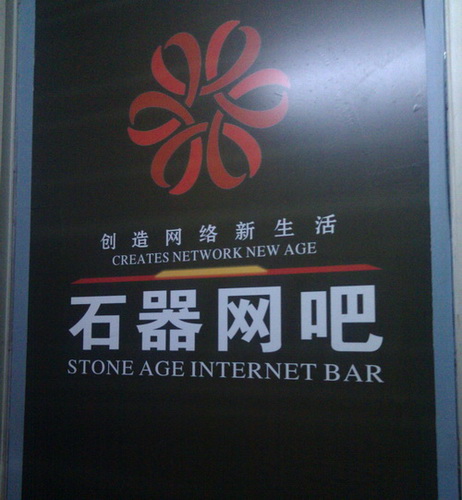
Before we got on a plane for the 23 hour return trip, we had one last trip through Hong Kong night life. Another fantastically translated sign.
If you ever get the chance (or think you need to see massive RGB displays), I highly recommend a trip to Hong Kong and China!
Feel free to checkout the earlier posts Part 1 and Part 2 as well!
