Hygrometers: A Cautionary Tale
Our (kinda) epic journey about learning the proper way to handle humidity sensors.
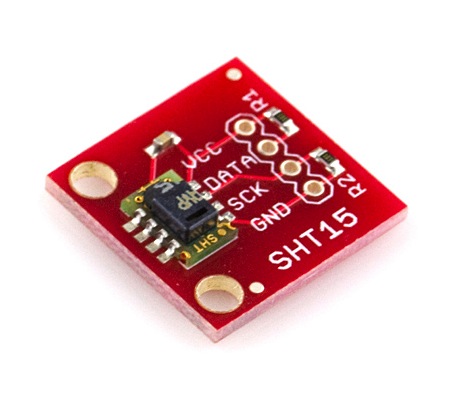
Hygrometers, or humidity sensors as they are more commonly called, don't tend to be particularly riveting topics for discussion at most parties, but that doesn't make them any less useful or any less interesting to geeks like us. They are practically everywhere too - medical, HVAC and meteorological equipment are just a few places you'll find them.
For DIYers and SparkFun customers the most common application is the later, though if there's one thing I've learned from working here these last few years it's to never underestimate the ingenuity of the weekend hacker - who knows what use you'll come up with. For that reason, among many others, we want to make sure you're getting what you pay for when you buy something from us. We may not always be able to predict exactly how you're going to use our products but we do understand that, to makers and hackers at least, few things are worse than purchasing something, embedding in a project, and then discovering it doesn't preform the way that it should. On that note I'm sorry to say then that up until late 2011 we were woefully unaware that we had been overlooking a necessary post-assembly procedure with our humidity sensors - re-hydration.
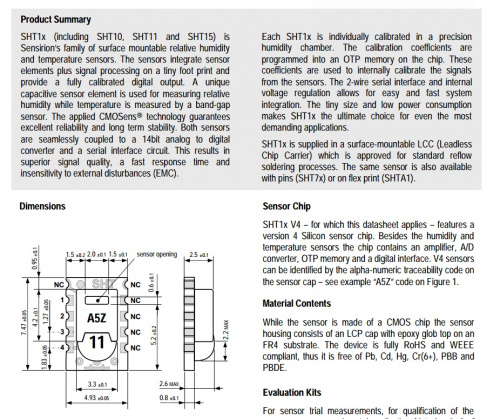
You see, the two most common types of humidity sensors, at least in our line of work, are capacitive humidity sensors and resistive humidity sensors, both of which tend to use conductive polymers in the way they measure relative humidity. The capacitive type detects the relative humidity of its environment by way of measuring the dielectric constant of that polymer, which is a fancy way of saying it uses the ratio between the capacitance of a capacitor with that polymer between its two planes and the capacitance of a capacitor with a vacuum between its two planes. With the resistive type of humidity sensors, a change in the electrical resistance of that polymer with respect to temperature is used as the primary measurement tool. Either way you slice it, that polymer is essential to the design and functionality, and if it dries out the accuracy of the readings will be negatively affected. How do we know this? Enter the almighty datasheet:
It's true that some times these things aren't the most well written pieces of technical jibber-jabber, but it's safe to assume that if the datasheet for the part tells you to care for it a specific way, you should do it. In this case, the datasheet for each of the humidity sensors we carry recommends "re-conditioning" the parts post-population for about 12 hours in an enclosed space at 75% RH. Rehydration becomes especially important when you consider that we put these boards through a reflow oven where the temperature exceeds 260 degrees Celsius. And we live in Colorado, which is on average a very dry state. So then, rehydration is something we should have been doing all along. Why weren't we? Hard to tell, really. I'm not going to make excuses though. What matters is that we weren't doing it. That's our bad and we are terribly sorry for the oversight.
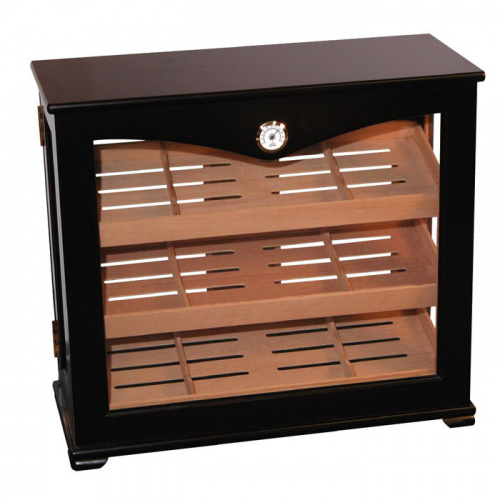
However, I can assure you that we have been re-hydrating each and every humidity sensor we populate for some time now. We now use no-clean solder paste on all of those products as well so that the boards won't be subjected to excessive amounts of moisture either, since that too can damage the component. Once built then, each board spends the aforementioned 12 hours (at least) in a humidity controlled environment. What do we use you ask? Well that's the most interesting part of this story, really. We needed an enclosed space that could both monitor and maintain the relative humidity inside at a stable percentage indefinitely. It also had to be able to store a respectable number of PCBs. I'm sure we could have bought something that does that, but that's not near as fun as building it ourselves though, is it?
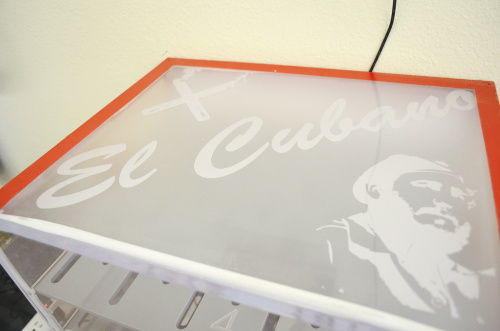
We initially used plastic bins and humidification packs as an immediate, albeit temporary solution. Recognizing we could improve upon the process, we asked our Mechanical Engineer, Paul Smith, to create a more permanent solution. Paul took our detailed specifications for such a device (we told him roughly how many shelves we wanted) and, after a little time in the mechshop, he created El Cubano! It is essentially a humidor for populated PCBs! He was even nice enough to write up a tutorial documenting the build process! You can check that out here.
The moral of the story here (sorry to get all "Full House" on you) is that we weren't aware of this issue until customers spoke up in the comments. We love sharing as much as we can with our customers, and we are always looking for ways to improve the quality of our products. That's why we encourage dialogue and don't just look at Sparkfun as a business but also as a community. You make us better. That's the truth of the matter. So thanks for keeping us on our toes!
