Enginursday: Motion-Controlled, Wearable LED Dance Harness
Let's check out my third design to control LEDs based on movement using an accelerometer!
I'm pretty ambitious whenever I get inspired to do a project – after research and testing, I consider the time constraints and how much experience I have doing whatever I'm interested in doing. I then usually take a step back and dial it down to something a bit more manageable. Instead of tackling the whole project all at once, I break it down and complete it in small chunks. This was the case after being inspired by some dancers using EL wire for their performance. In 2014, I started drawing out plans to build some light up costumes for my students at the old SparkFun building. I thought it would be cool and fun for them.
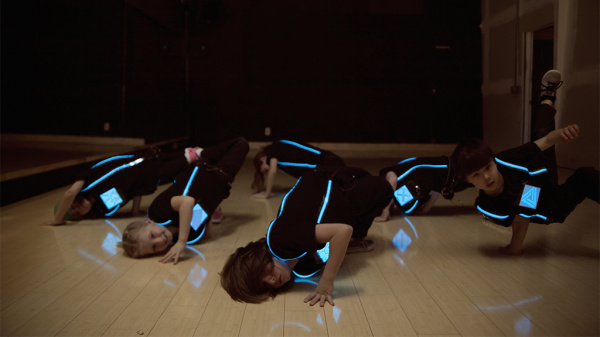
If you remember from my Enginursday post last year, I shared two designs that I used with my students. The first design used EL tape and panels. The second design used non-addressable LED strips.
 |
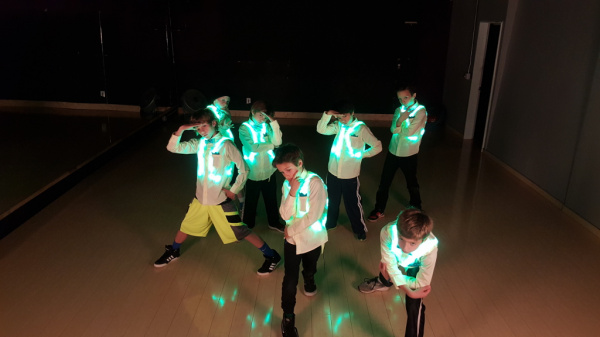 |
| Mark I: EL Dance Shirt | Mark II: LED Dance Harness |
Mark III: Motion Controlled Wearable LED Dance Harness
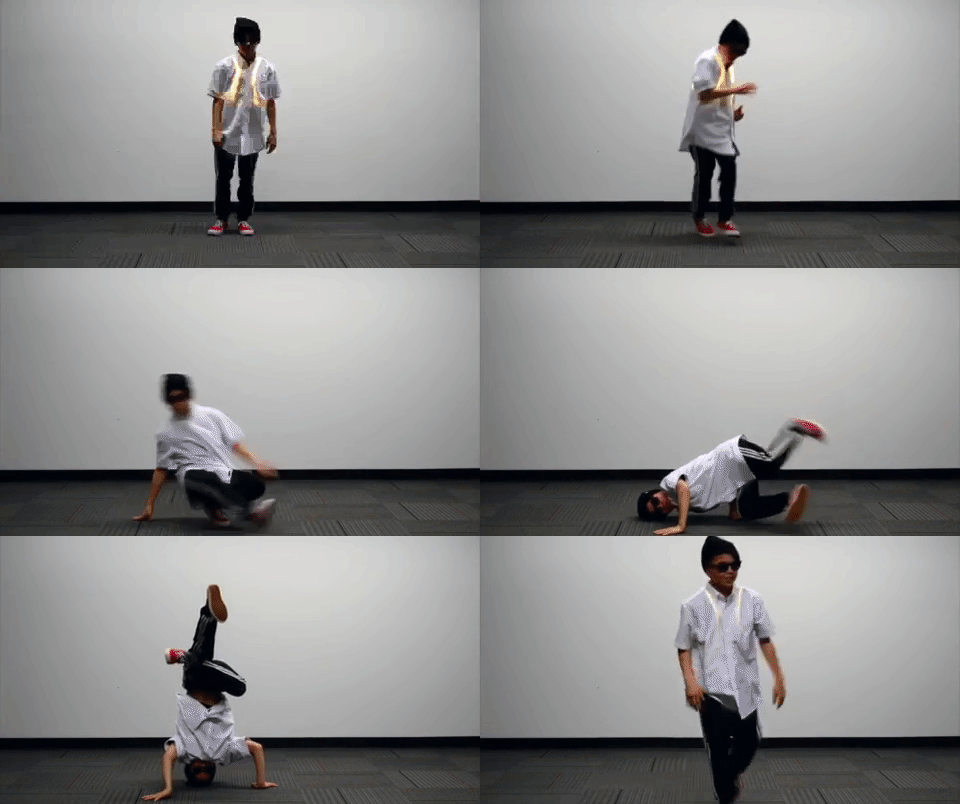
It would have been a shame to not reuse the parts that I spent so much time building for seven students. Instead of designing a new costume, I decided to focus my energy on a small upgrade at their 2016 spring performance with Streetside Studios. For Mark III, I mixed different colors and replaced the custom power adapter with a motion controller. The motion controller used an ADXL335 triple axis analog accelerometer, transistor, and Arduino Pro Mini to switch the LEDs between patterns. It was simple and easy to use. Here's a quick demo of it in action with one of my bboys.
How Do You Build Such a Thing?
Assuming that you have already prepared the LEDs and harness tailored to your size, check out the tutorial linked below for more details on making your very own motion-controlled wearable LED dance harness! Oh and don't be scared of the numbers that I provided after calibrating all eight sensors; they're pretty interesting in my opinion.
Have you ever added an accelerometer or IMU to a wearable project involving dance or movement? Let us know your thoughts below in the comments. Tune in sometime in the future when I show you Mark IV. I'll need a bit more time to explain what I did for the next version. ;D
Interested in learning more about LEDs?
See our LED page for everything you need to know to start using these components in your project.
