A Qwiic Upgrade for a DIY Keyboard
Revising and upgrading my split keyboard project with the new Qwiic Pro Micro C.
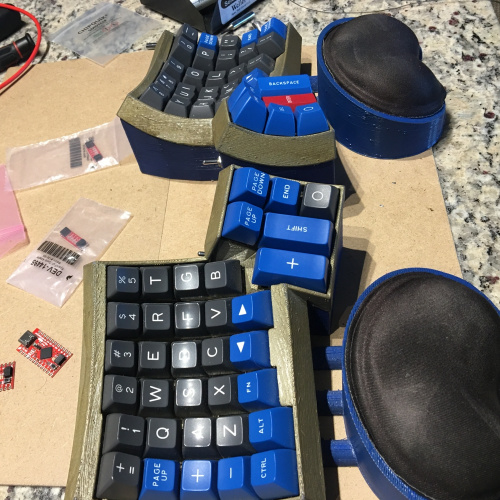
A few months before I came to work at SparkFun, I had built my very own split keyboard (in this case a modified Dactyl). The Dactyl is an open source, split ergonomic keyboard originally designed by Matt Adereth.
The community has many variations and for mine I bought a 3D-printed case/kit from a kind fellow on /r/mechmarket who offers printing cases as service. The keyboard is powered by some awesome community driven open source firmware called QMK, which is running on a couple of Pro Micro clones.
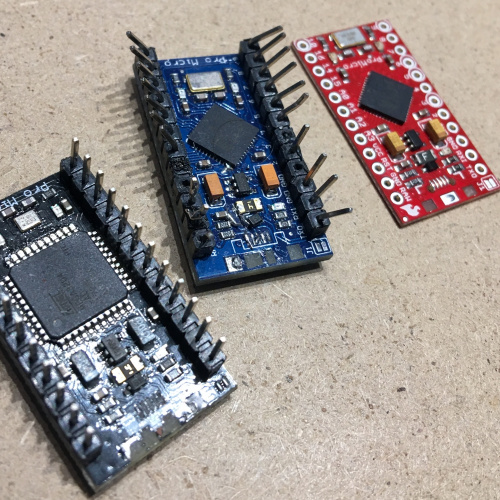
The Pro Micro is a common go-to microcontroller in the keyboard community due to its compact size, use of a ATmega 32u4 (which has a USB peripheral), and a lot of firmware support in the open source community. Unfortunately, both the clones and the official boards suffer from a known weak point: the surface mount micro-USB header. Despite my best efforts and gratuitous amounts of hot glue the left hand side of my keyboard finally gave and the connector broke off!
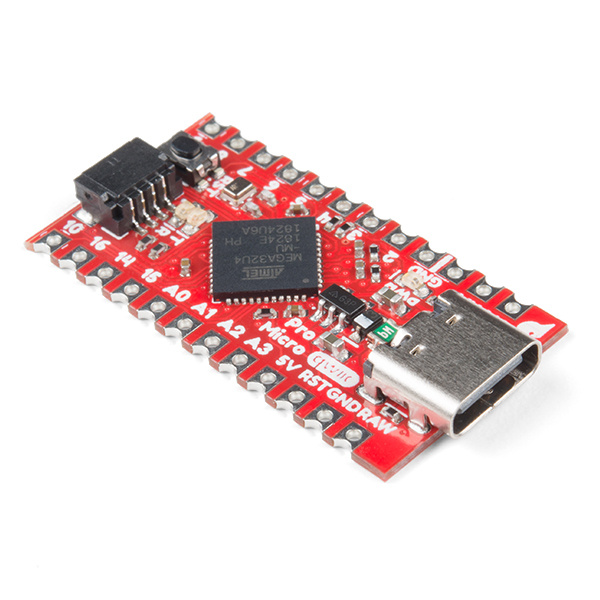
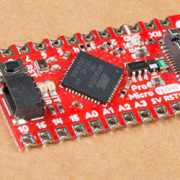
When something breaks, it’s a good excuse for an upgrade, right? Luckily, I knew SparkFun was coming out with a revision to the Pro Micro. It’s got USB-C connections with much sturdier through hole mounts, a Qwiic connector, USB breakout pads on the bottom and castellated edges. Of all these features I think the Qwiic connector sets it apart from alternatives out there, and it comes in very handy for this split keyboard build, since the halves should be able to communicate via I2C.
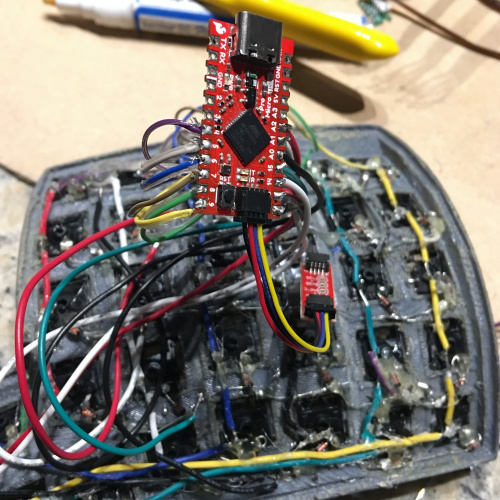
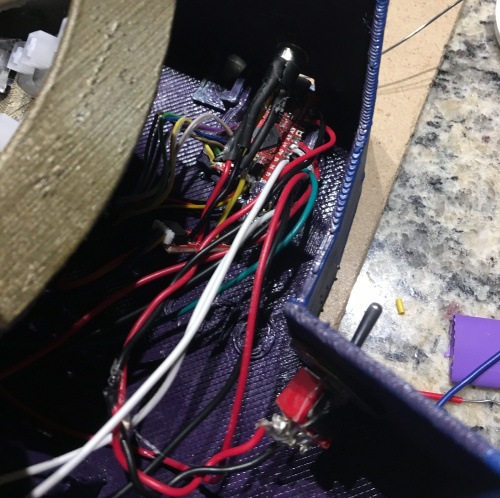
My goal was also to clean up some wiring and the guts since this project is all hand-wired. Explaining the key matrix is outside the scope of the project but if you are interested here is a write-up that would be much better than my explanation. There’s a lot of room for error and I was hoping a clean-up would be nice. I got my hands on a couple of the Pro Micro revisions, and since I also wanted to take advantage of the Qwiic ports, I grabbed a couple of our little Qwiic adapter boards while I was at it.
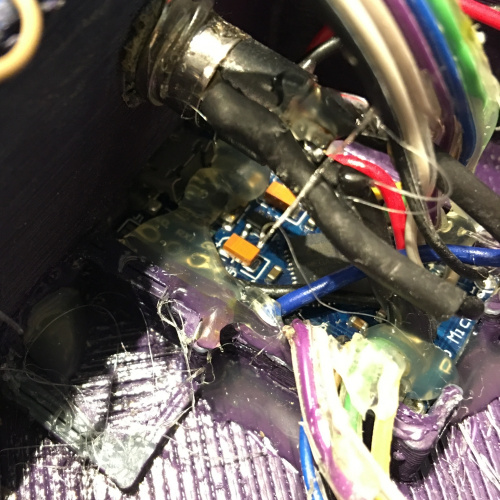
Turns out my gratuitous, nay, decadent amount of hot glue was not only unable to keep the micro-b connector on, it caused a bit of a speed bump as I had to wedge and pry and cut the old boards out of there. Desoldering the pin headers would also have taken a while, and since I had a reasonable amount of length I decided to snip 'em off instead. When it came to soldering the key matrix wires to the new Pro Micros, I was pleasantly surprised that the castellated edges came in handy for wrapping the leads around the edge of the board and having them solder nice and snug, both in the through-hole and on the outer edge.
One of my original problems with the keyboard was being able to reprogram it while it was in the case. Although this new revision has a reset button, I still needed to solder the reset pins to some panel mount toggle switches so I could force them into bootloader mode from the outside of the case without having to open it up.
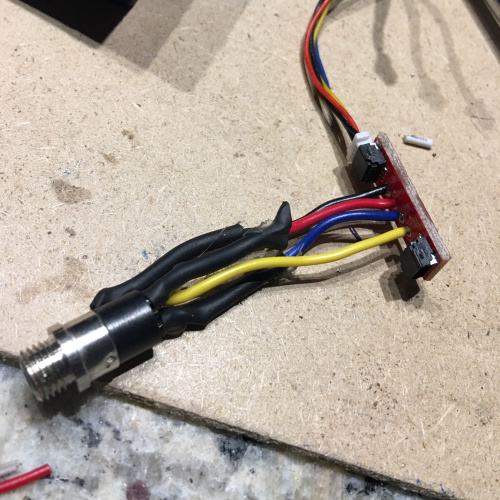
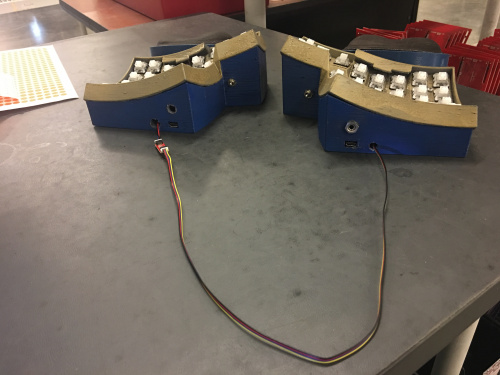
The next step was where I ran into some problems. When removing one of the panel mount TRRS jacks, some excessive wiggling caused a solder tab to come off. Without a replacement on hand I decided just to use my extra-extra-long Qwiic cable and connect it to the adapter on the other side of the board. It’s less than ideal, but should be good enough for testing and usage as long as I don’t abuse it.
Before everything was put together, I rebuilt the firmware, re-flashed the Pro Micros and gave it a test. To my surprise it all worked off the bat! Usually something that goes wrong and… wait a minute, why isn’t the other half working?
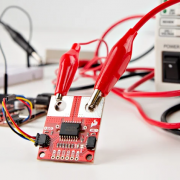
Both sides worked when individually plugged into the computer via USB, but when only one side is plugged in, I had communication problems via the two halves. I did some snooping and realized I had forgotten to switch from serial to I2C before I built the firmware; after that change and some bus inspection I still wasn’t getting communication, but it was definitely sending info on the I2C bus, and that’s where I decided to call it for the weekend. Hopefully I can figure it out and get it working again.
I’ll have to investigate further, but overall I was very happy with how easy a transition it was from the old Pro Micros to the new ones!
