Introducing the Epigone Drone
Our attempt to fly a drone with some of the same technology as NASA and none of the international scrutiny.
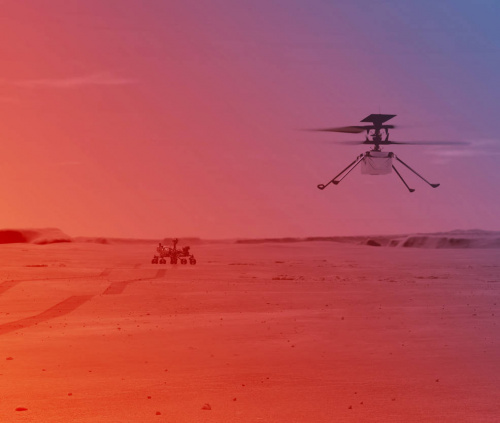
NASA has announced that the Ingenuity helicopter has left the warm comfort of the Perseverance rover, and has successfully survived the cold Martian nights by itself with just solar panels and a rechargeable battery. This means that the next test for the little four-pound helicopter is to try for flight in an alien atmosphere. If the demonstration is successful, it will be a huge win for space research, and the possibilities for traveling around Mars will open up.
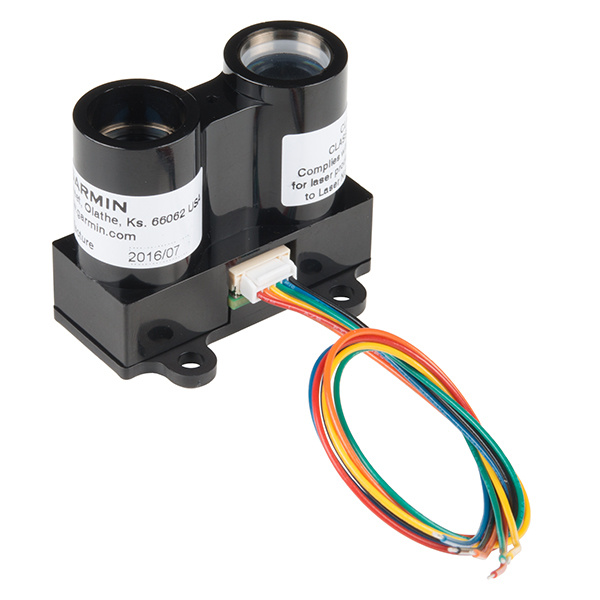
We are particularly excited about this flight because Ingenuity is equipped with newer, riskier, publicly available technology, including a Garmin laser altimeter ordered from SparkFun.
Inspired by their use of open source resources, we decided to test out the technology ourselves! We wanted to get very meta with this, and decided to do a demonstration of Ingenuity's technology, which itself is demonstrating flight on Mars. So, we built a drone utilizing similiar hardware and the software framework on Ingenuity, and tested just how hard it is to fly here on Earth. Introducing: the Epigone Drone!
An epigone is "a less distinguished follower or imitator of someone, especially an artist or philosopher." Good to know. Let's get to the build!
The Build
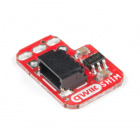
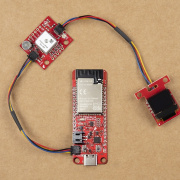
We kept the build as light and compact as possible to avoid complications from hardware connections, as that wouldn't fly well with us. This means using the Qwiic system, including the Qwiic SHIM for the fastest way to utilize a Pi.
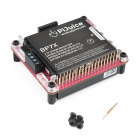
F' (NASA's flight framework) has fantastic documentation for running the framework in an embedded context on a Raspberry Pi, as it can run Linux. We'll build an app that can receive messages through a standard UART driver and cross compile it for the Raspberry Pi. The Pi will also need power, and thankfully there's a sleek solution for this - the PiJuice HAT. It gives the Pi enough energy to go off the grid, but doesn't compromise the availability of the Pi header..it just extends it!
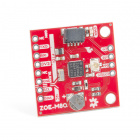
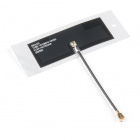
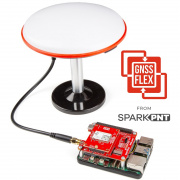
We picked up the ZOE-M8Q GPS Breakout Board because it's small and can utilize the NMEA protocol, so the messages it sends are in NMEA formatted ASCII text. This will also need an antenna, and the Molex Flexible GNSS Antenna is perfect for the job as it is compact too.
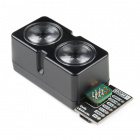
Last, but certainly not least, we'll use the Qwiic LIDAR-Lite v4 to see if we can measure distance atop the drone. The Ingenuity helicopter utilizes the LIDAR-Lite v3 from Garmin, which features a laser for up to 40 meters of optical range. The LIDAR-Lite v4 instead uses an infrared beam and can measure up to a 10-meter range with 1 cm of resolution. Plus, it's part of the Qwiic ecosystem, so it's easy to integrate with the rest of the project.
Qwiic LIDAR-Lite v4
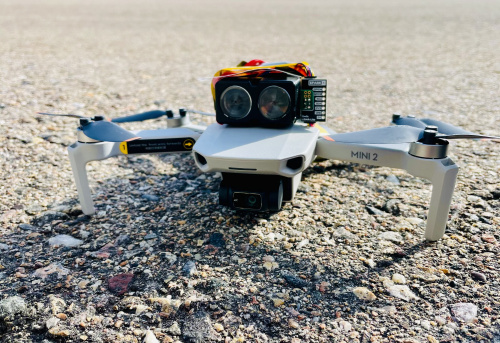
SPX-15777For the build itself, I originally thought that a compact enclosure would be required, as it would sit below the drone and the LIDAR could point down. However, when our videographer Cassy brought her drone in, we realized the the project build itself was practically the same size as the drone, and that a) an enclosure wouldn't be possible due to weight, and b) the project build couldn't sit below the drone because the drone would freak out not taking off from a stable point. So, in a good old fashioned SparkFun way, we took some duct tape, situated it atop the drone, and strapped it down. This also meant that the LIDAR sensor was positioned at the front, since it couldn't be on the belly.
The Code
What was really exciting about this project was the ability to use the open source flight framework NASA had developed: F' (fprime). It has community participation and documentation, which is pretty incredible considering this is the software used on NASA deployables. It's advantageous because it's rapid, adaptable and resuable...it's not only been used on Ingenuity but also CubeSats, SmallSats and other instruments.
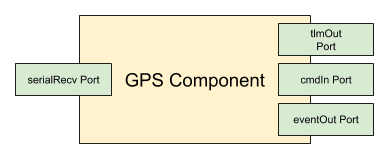
The general method of developing with F' is to design unique Components (check out the F' specific terminology) that will read data, and Ports for those Components to connect to each other.
Check out the GPS tutorial for in-depth steps on the .xml files built, and how to deploy the app!
The Flight
At first, the project build was hard to situate properly on top of the drone, as it was almost too big. The drone rotors kept cutting the tape, and would freak out trying to lift off. We had to situate it perfectly in the center of the drone so that each rotor had a few millimeters of space to fly. When we found the perfect spot, the drone was able to take off! But it definitely felt the weight of the project; it ended up depleting half of the battery of the drone in four minutes, when the battery should have reached that point after flying for 20 minutes.
We were able to fly up close SparkFun HQ to test out reading in the data through the F' app!
Final Thoughts
We are so excited that NASA ditched their legacy hardware and software for the Ingenuity flight, and decided to use hardware available to consumers and software for everybody to participate in. It's a pretty incredible thought that we might soon fly on another planet, and we're hoping this kind of open source technology is what can make that a reality. We're rooting for the Ingenuity helicopter here at SparkFun, so best of luck to the team, and we can't wait to see what that little helicopter is capable of!
Interested in learning more about distance sensing?
Learn all about the different technologies distance sensors use and which products will work best for your next project.
Take me there!
