Meet Mariah!
Meet our newest Creative Technologist Mariah and learn all about what brought her here to SparkFun!
Hey all! My name is Mariah Kelly and I will be your Technical Documentation and Content Support Specialist for this evening. Now, if you’ll take a moment to review the safety guide located in the seatback pocket in front of you – ah, just messin’ with ya! I’ve worked at SparkFun for almost two years and am so excited to now be on this team, interacting with y’all and making cool things together!
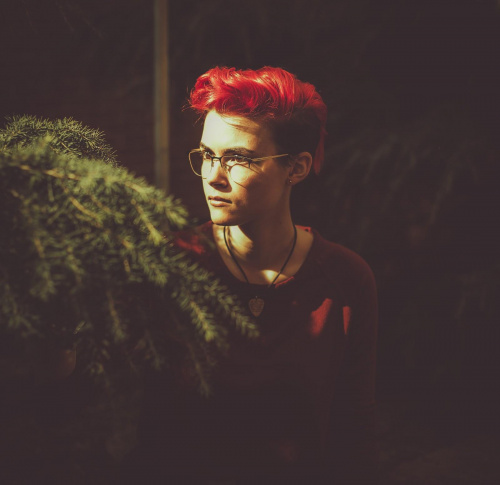
Now for the part where I tell you a little bit about myself, which I will try to keep short and sweet because I have a tendency to tell long stories: it all started when I was born… just kidding. It all started when I went to college!
I went to school at Berry College in Rome, Georgia, where I majored in Creative Technologies (CRT) with a minor in Chemistry. The best way to describe CRT is a sort of “Jack-of-all-Trades” major. While there I learned 3D printing, laser cutting, vinyl cutting, Processing, Arduino, sewing, woodworking, metal working, and even PCB design and fabrication, all at the on-campus makerspace, HackBerry Lab! There were many other things I picked up along the way, but those are the main ones.
And boy did I lean into that program as much as possible, and then some – I actually started college double majoring in CRT and Chemistry, but dropped chemistry down to a minor because I had become so invested in the passion I had found at HackBerry. After I took my first class in the program, I was brought on as a lab assistant. My job was to help keep the lab and all its equipment up and running for everyone to be able to work on their projects and to help think through problems with students, sometimes even teaching them one-on-one during open lab hours!
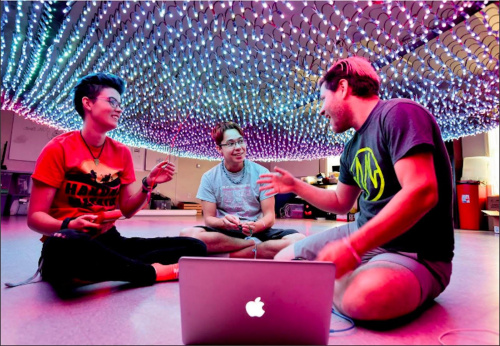
Being a lab assistant is some of the most rewarding work I’ve ever had the pleasure of doing, and I am so excited to be entering into this new role and getting back to helping people make what they want to make. Speaking of making things: I’d love to share some projects of mine with you! The big net of LEDs I’m sitting under in the photo above is a cool place to start: that project is called Event Horizon and is an interactive light installation consisting of 9,216 neopixels embedded into large sheets of window screening and held up by a 20x20ft square-steel frame. It ended up on display at the Mason-Scharfenstein Museum of Art in Demorest, GA for about six months!
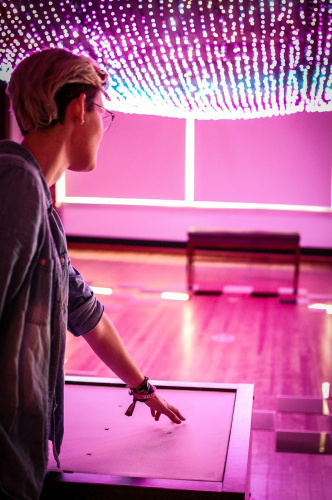
Getting to be a part of a project like this only served to increase the passion I had for Creative Tech and all of the possibilities it opened my mind to. I started diving into the unknown and trying to figure out how to do things I’d never done before–and that’s when I discovered PCB (printed circuit board) design.
Now, in addition to finding my passion for PCB design, I also learned that I am highly motivated by curiosity and fun, which guides virtually every one of my projects. So, I design boards that I think will either be cool to play with, or will answer a question. Or both!
I’m only gonna touch on two boards here because I will go on forever (I love to tell stories, remember?), and the first board I’ll talk about is the PacMan Ghost PCB; this was my first “PopArt” board and is definitely meant to be fun (and a bit nostalgic). It has 51 Neopixels and three animations: the first is a blue sparkle that just rapidly changes every other LED between white and cyan, the second is meant to mimic PacMan making his way across the board collecting PacDots, and the final is the same animation that is displayed in the game to warn the player that the ghost is about to resume its pursuit. It’s run off a single ATTiny85 chip and a 3.7v lipo; I’ve not tested how long it can run off the battery as it’s quite bright and I’m not trying to recreate that scene from Raiders of the Lost Ark. You know the one.
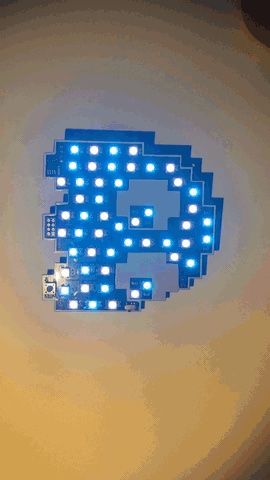
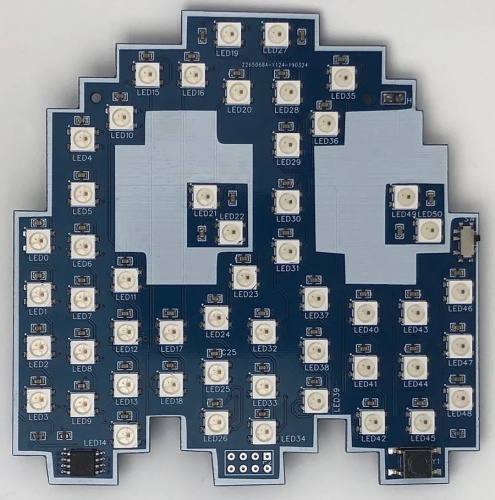
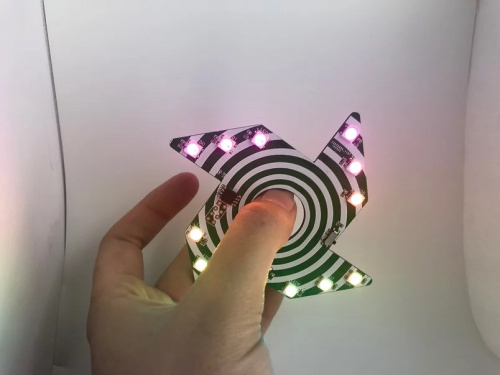
This project really challenged my perception of what circuit boards were meant to be. I’m a fairly artsy person and I realized that this was just a new medium for me to create with. So, when I was accepted to take an Educational Technology Abroad course trip to Norway, I knew that I wanted to make a circuit board that would be fun for kids to explore a concept with. And thus, the RGB Pinwheel was born! The idea behind this board is to teach kids (or anyone, really!) about the primary colors of light. The board rapidly flashes between red, green, and blue so quickly that it’s imperceptible to the naked eye and appears as though all of the LEDs are white. But, utilizing the effect caused by persistence of vision, when the board is spun the breakdown can be seen! And the secondary colors can be seen as well by pressing the button: white, of course, breaks down into red, green, and blue; cyan breaks down into just green and blue; magenta, red and blue; and yellow, red and green. Unfortunately, it’s very difficult to capture this effect with a camera, so all of the photos turn out with a rainbow gradient, but it’s still pretty cool looking and shows that the entire visible spectrum of light can be created with just red, green, and blue!
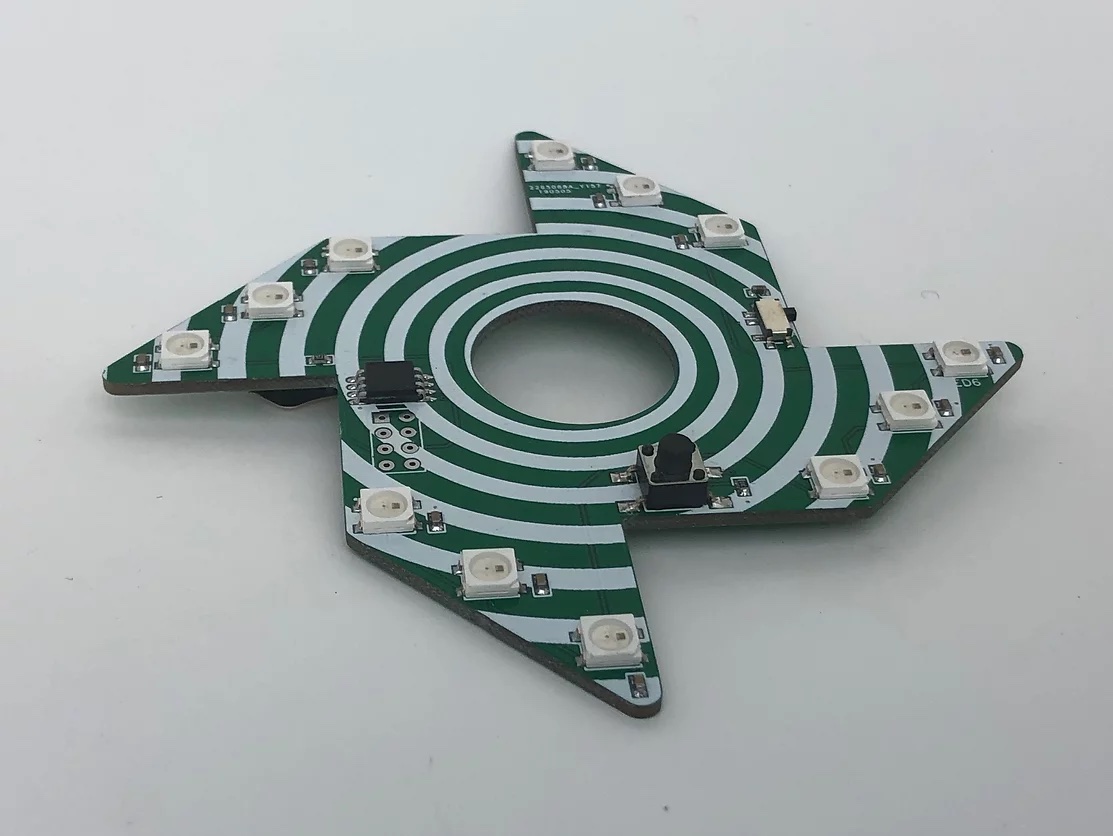
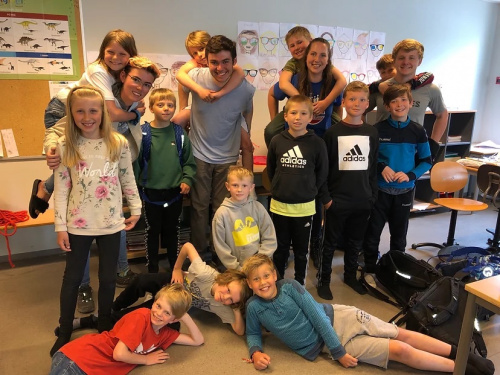
And I’m happy to say that these boards still have a home in a 4th grade classroom in Norway!
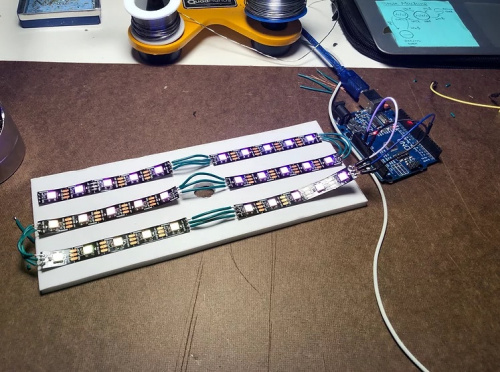
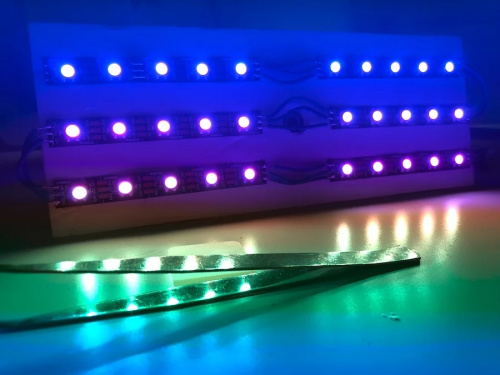
Bonus - if you’re ever feeling discouraged by the prototyping phase, this hilarious mess is how this project started! (Not pictured - the horrible contraption I had to make in order to get all of this to spin around, haha)
And that’s me! I’m so thrilled to be going on this journey with y’all and can’t wait to see all of the cool things we’ll learn along the way! If there’s anything in particular that you’re interested in, feel free to suggest a project or ask a question; let’s dive into the unknown together and see what we can create!
