Enginursday: Mort and Mary Present...Fun with Sockets, Part Deux - Old Products Never Die
The most complicated, over-the-top, MacGyver-Van Damme'd remote-controlled laser!
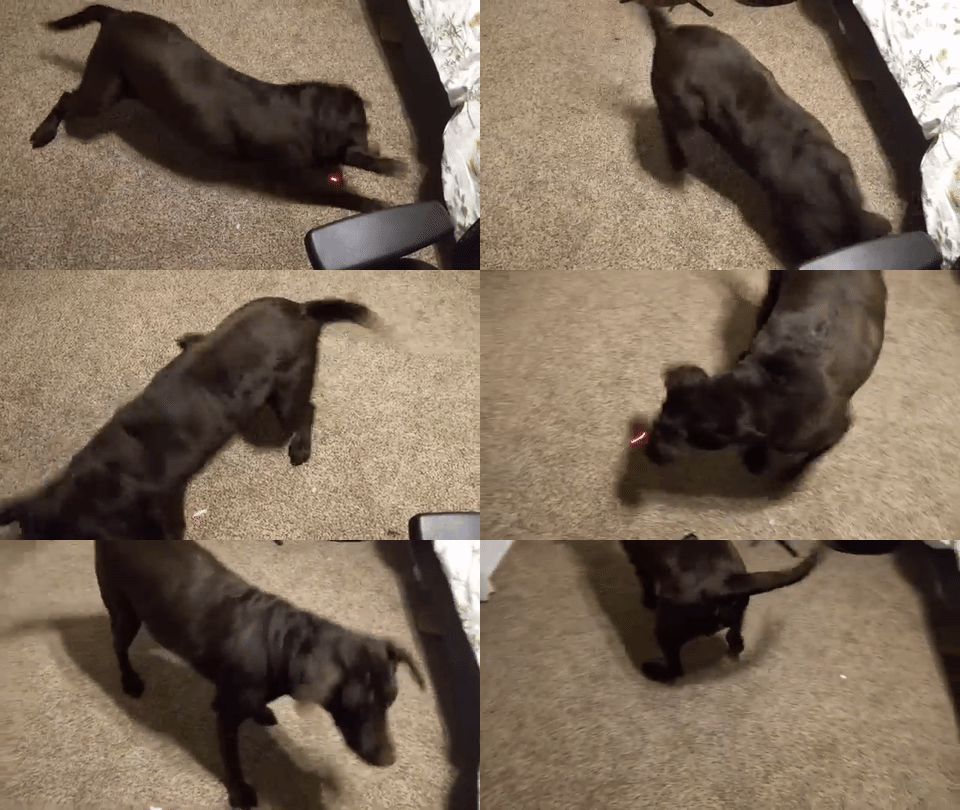
You know how I keep making projects and posts about Moose, my dog? Well, this is also about Moose! Even more about my laziness and how unwilling I am to stand out in Colorado winter temperatures to throw his ball around. His exercise is important to me, though, and now that I can't be dragged across the pavement safely (because of ice) in the early mornings and late evenings, I've had to come up with a new way to keep Moose in good health.
In case you didn't know, Moose is actually a cat in a very nice dog suit.
Enter PiMooseCade
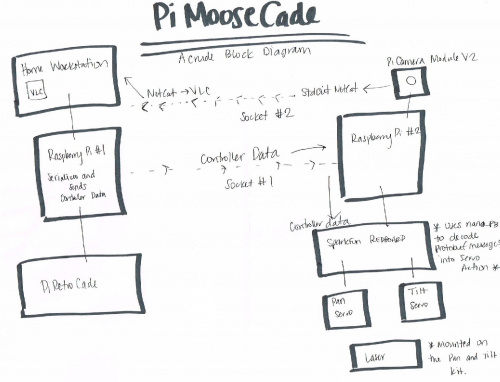
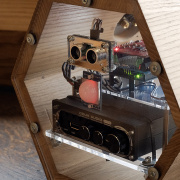
This system combines Mort's Python programming skills, my clumsy hardware coaxing and Moose's love for finding that red dot. This is a remote-controlled laser pointer. PiMooseCade uses the same socket network setup and message encoding/decoding as the project from last week's Enginursday post, with the exception that this project is running two sockets---one for the controller data and one for the camera data. Using the parts from my crowning underachievement, the PiRetrocade, Mort and I cobbled together this necessary invention over the holiday break. Let's start with a crude block diagram.
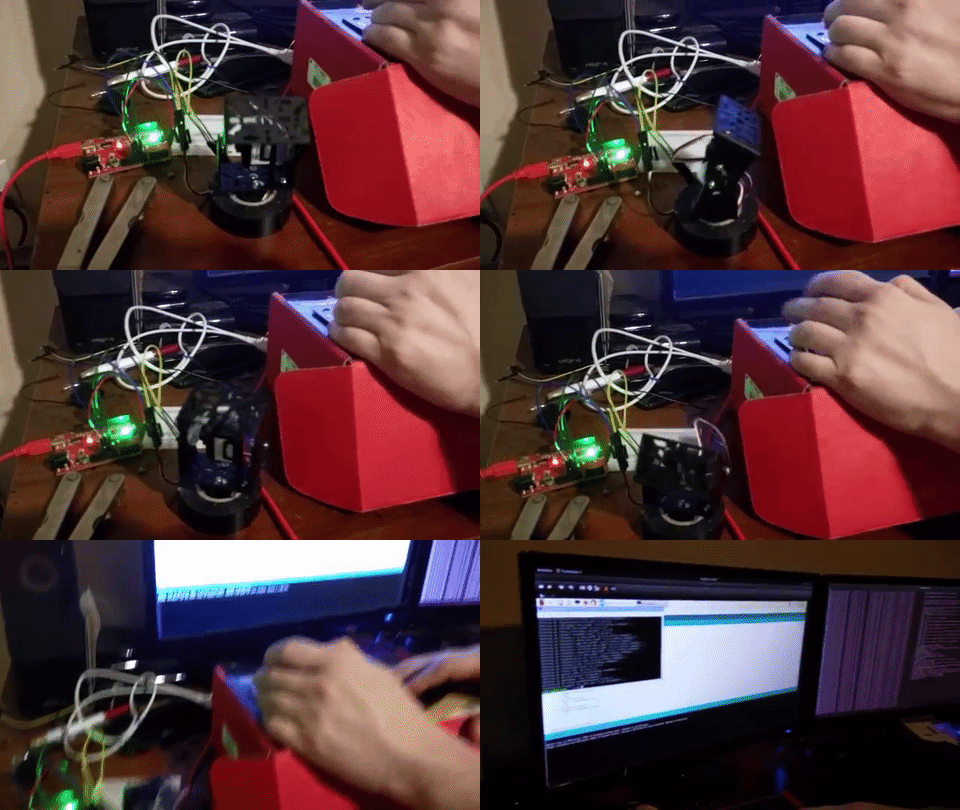
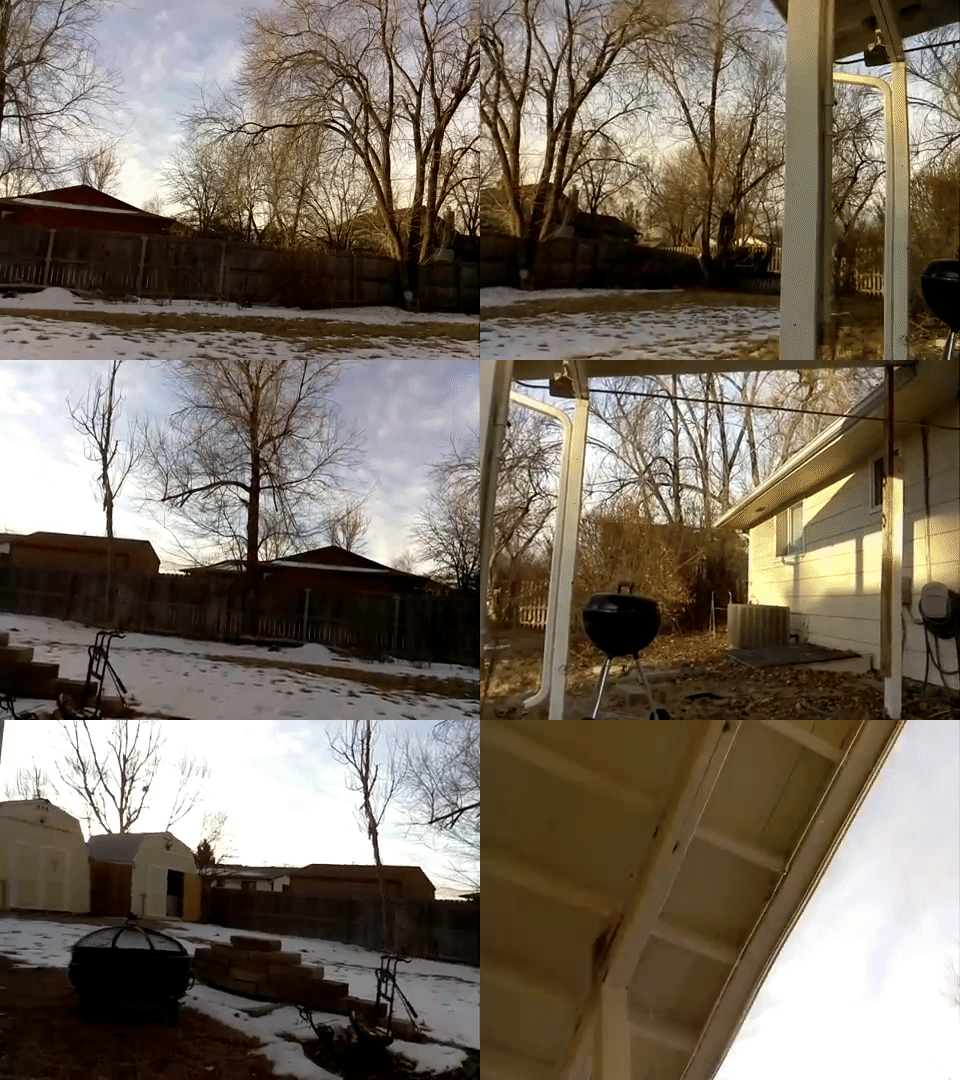
The PiMooseCade consists of two separate systems communicating over a socket to provide Moose with all the entertainment he/we need. The first system belongs on my desk. It is the PiRetrocade with a Raspberry Pi 3 reconfigured to map button presses to servo action. Up and Down on the joystick control the tilt, while Left and Right control the pan. An arcade button has been reconfigured to change the delay between each change in servo position. Holding down on A decreases the delay, thereby increasing the speed of changing position by 15X---all Mort's idea. The second system, which is to be mounted on my back porch awning, consists of a Raspberry Pi 3, SparkFun RedBoard, Pi Camera Module, tilt and pan kit with two servos and a laser pointer mounted on top. From my desk I watch Moose chase after the laser with the video footage from the camera sent to my workstation via the socket. I control the position of the laser with my controller. Each button press is encoded by protobuf and sent over another socket. The Raspberry Pi outside receives the messages and forwards them onto the RedBoard. The RedBoard is running the client protobuf (in the code link below) to decode the messages into servo actions. Yes, I'm sure there was an easier way. And one day it will be made that way by us, but today is not that day.
We have here:
- Red Laser Pointer---any laser will do.
- Tilt and Pan kit
- Sub-Micro Servo Motors x2
- Raspberry Pi 3 x2
- SparkFun RedBoard
- The remnants of a PiRetrocade
- Raspberry Pi Camera Module V2
- Wads of wire, glue and tape
- Code that has yet to be perfected, but you can help!
Why a RedBoard? Well, the PWM on the Raspberry Pi is terrible! The servos just jittered about, and the response time was dismal. We tried both software and hardware solutions to no avail. The best we could come up with to get something working quickly was to add a RedBoard to the mix.
The Complications---Still a Work in Progress
The video footage caused some major delays in the project's progress. From my workstation we are VNC'd into both Raspberry Pis. I thought I would be able to capture the video data with Raspberry Pi's "experimental screen capturing" using omxplayer. No luck.
Then we tried streaming the video footage over a socket from Raspberry Pi 2 to Raspberry Pi 1 using OpenCV then VLC. It was laggy to say the least---sometimes it worked, and sometimes it didn't.
We tried a few other solutions before Mort came up with the idea of streaming the video footage directly to the workstation by sending the video data through the standard output and netcat'ing it to the workstation's VLC player. It worked!
"Works like a senior design prototype, semester one, week eight, when you need to show your professor something," says Mort.
We are still working on getting a less kludgy version up and running at our house. Once we have the system working according to the house spec, the updated files and video will be shared.
Finally! A project for cats as complicated as cats!
