3D Printing and Tabletop Gaming
Why pay hundreds, if not thousands, of dollars on expensive tabletop and board game accessories if you can just 3D print or make them yourself?
I have been playing a multitude of tabletop and board games since I was about 10 or 11 years old. For as long as I can remember, I've always had a fascination with creating fantasy worlds, characters, powers and races, so when I finally was old enough to be allowed to start dabbling in role play games I already had a strong basis on what I wanted to do.
The only problem I had with it was that I was never really able to convey my ideas or creations to the rest of my group of players that I was trying to lead through the worlds I created for them. This inability frustrated me, which ultimately made me leave the gaming realm for quite a while to focus more on writing (and lucky enough for me I was able to make a career out of it). By the time I was in college, I discovered new ways to help convey my imagination better. This got me back into tabletop gaming, but it wasn't until I got to SparkFun, where I had access to 3D printers, that I fully realized what I could do.
Over the last few years, 3D printing has really exploded (you may have noticed). It has become a pretty big deal especially to people like me, since it allows us to help portray a world of our own creation more accurately. I was surprised by the number of resources available to turn my fantasies into reality!
As you can see from the video above, 3D printing and other forms of crafting can be used not only in the worlds of Dungeons & Dragons and fantasy, but also in science fiction – heck these same ideas can be utilized to help kids making a diorama or model for school projects. For today, though, let's just focus on the former.
To start with, I knew for the past couple of years that I wanted to feature dungeon tiles for the games I typically run but, to be frank, I'm not made of money and couldn't afford paying for a plethora of unique parts for just the right situations, and I never really liked the look of the low-end picture panels that are typically the cheaper option. I knew that there needed to be a middle ground that I could implement.
That's when I discovered OpenForge from Masterwork Tools. The dungeon tiles these wonderful people thought up instantly grabbed my attention and made me want to use their designs for my games, but we also wanted to showcase an alternative way to make your own in case you don't have a 3D printer. So let's take a quick look at how we got to where we are in the video above.
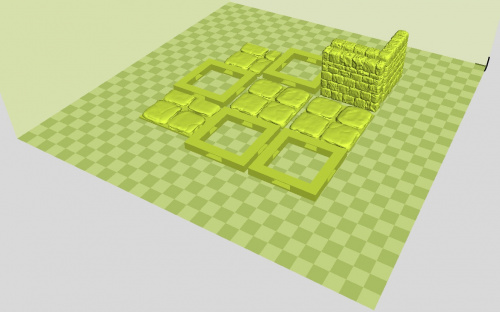
First we needed to get the layout started. I used the LulzBot Edition of Cura to get the designs in and to my specifics before printing. I knew I wanted to print a small quantity of tiles for this initial run, since I had never used OpenForge before and wanted to make sure I liked it (Spoiler alert: I love it). Once I got everything into my desired orientation I printed out the dungeon tiles on a Taz 6 3D Printer using black ABS filament. I made sure that I applied a brim to each object so I didn't have to worry about any of the corners turning up while printing.
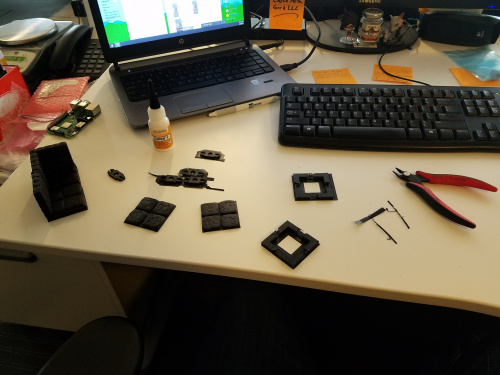
Once everything was printed out, which took about six hours on a standard print setting, I was able to start disassembling all the individual parts from the brim. This was pretty easy to do with a pair of diagonal cutters for backup.
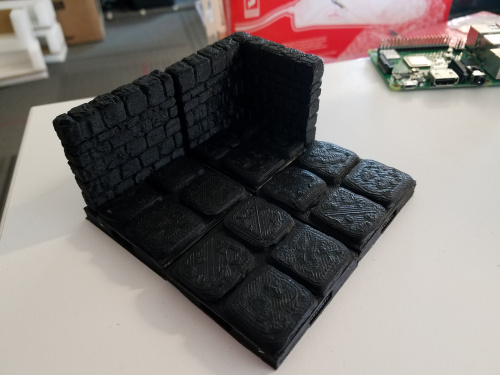
Getting the dungeon tiles assembled took a little bit of patience because I really wanted to make sure everything was lined up and neat. Using some Super-T glue and accelerant really made short work of the build process as I was comfortable with getting everything laid out.
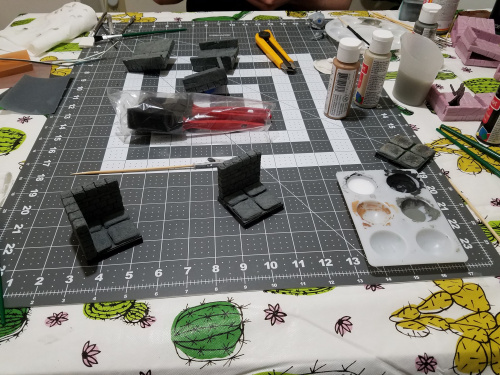
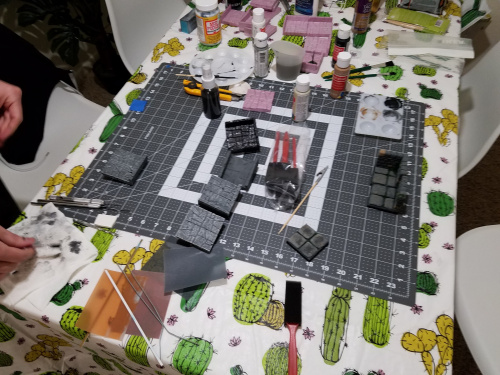
Once I got the dungeon tiles assembled, it was time to start painting. I applied a few layers of gray paint in various shades, starting with darker tones then progressing up to lighter ones to get down a base coat to give them a good stone appearance.
Once the base coat was down and I felt good about how it looked, I started adding a bit of brown to accent some of the pieces and to make it appear like the floor was dirty and grimy. From this picture you can also start to see the progress on the expanded polystyrene (XPS) foam that was discussed in the video as well!
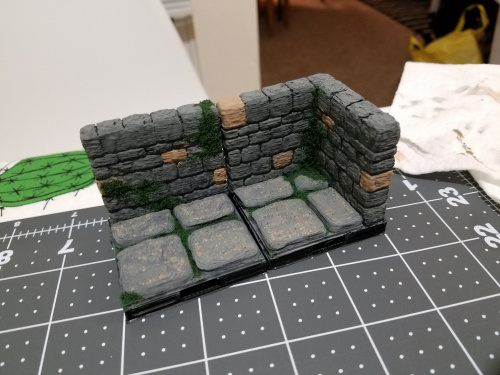
Now that the paint was all applied, I decided to add a little bit of flair to the stone work by adding a bit of moss. To add this effect I just made a 50/50 glue water solution, applied it to some of the crevices, and sprinkled in some some "fine turf" from Woodland Scenics. Once that was all done the tiles received a healthy coat of polyurethane to seal everything in place to reduce the risk of scratching and divots to the fresh paint job.
That's pretty much all there was too it. The whole build and paint process took about eight and a half hours in total, with the longest portion being the actual print process.
If I'm being honest, this whole process was surprisingly uncomplicated and just required a little bit of patience to complete. If you are looking to save a buck or two to give your own game a little bit more of an impact on your players, and you already own a 3D printer (or aren't afraid to invest in one), this is a pretty reliable option to move into. If you don't want to drop the coin on the printer and filament you can just as easily go the XPS foam route instead. If you would like a step-by-step guide on how the 3D-printed ~or~ XPS foam dungeon tiles were made, let us know because we would love to provide!
Thanks a load for stopping by and we'll see you next time!
