New Product Friday: Product Power!
Friday means new products here at SparkFun. We've got a few things, so let's talk about what we've got!
Hello once again and welcome to yet another Friday New Product Post. We have a few things this week. Don't forget that Maker Faire New York is this weekend as well. We'll be wandering around, so if you see some red shirts, stop and say hi.
Here's the video from a couple weeks ago where we talked about the Electric Imp in more depth. Check that out to know more about how the shield and breakout work.
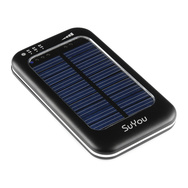
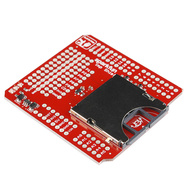
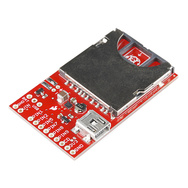
So, as promised, we have the Electric Imp breakout as well as the shield this week. Just a quick note, we will have more stock of both the shield and the breakout very soon. We are building them right now, so get your backorders in and we'll most likely have them ready early next week. And I will be stress testing the Solar Charger and Battery in the middle of nowhere in Utah this weekend. We'll see how it holds up.
Although this looks like a pretty finished product, the Solar Charger and Battery is a great little thing to hack. Check the video above to see what it looks like on the inside. Essentially, you're getting a solar panel, 3500mAh battery, and charging circuit in a nice enclosure. Rip it apart and enclose it in your project, or use it as-is. Either way, there's a lot of uses for something like this. Use it for embedding projects outside (in a weather-sealed enclosure, maybe?) or just as portable backup power when testing.
As promised, we now have boards specifically for the Electric Imp. The first is the Electric Imp Shield. It allows you to use your Arduino to communicate with the Electric Imp. Now you can add Wi-Fi connectivity to your Arduino, or just use it to start playing around with the Imp.
If you want to use the Electric Imp as a self-contained microcontroller (of which it is more than capable), check out the Electric Imp Breakout. It's similar to the shield, but smaller, has a USB jack, and breaks out all the pins.
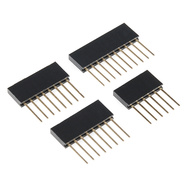
Last week we got the 10-pin stackable headers in, and this week we have the full header kit for the R3 Arduinos. These kits have a single 10-pin header, two 8-pin headers, and a 6-pin header that works with the R3 and Leonardo boards.
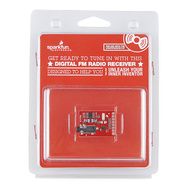
And lastly, we have a new version of the Digital FM Radio (retail version). We're now using the newer board which has some footprint changes as well as an SMD headphone jack.
Well, that's all I have for this week. Thanks for reading and watching and we'll be back next week with more new stuff. I keep getting alerts that new stuff is showing up, so check back and see what we've got!
