Build a Visual Ambient Light Sensor
Learn how to hook up a light sensor to control the brightness of an LED based on ambient light. Now that's a quick circuit creation!
Build a Visual Ambient Light Sensor
Sometimes, you don't need a data stream on your computer screen to tell you what's going on. Sometimes it's more fun to let your circuit do the talking!
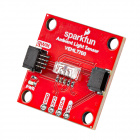
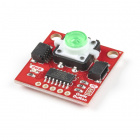
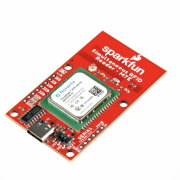
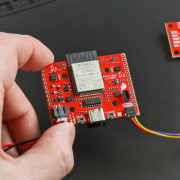
That's the idea behind this little Qwiic Circuit Creation using the SparkFun Ambient Light Sensor, a RedBoard Qwiic, and a Qwiic Button. Hook them up with a couple of Qwiic cables, upload the example code, and you have a visual indicator that responds to changes in light.
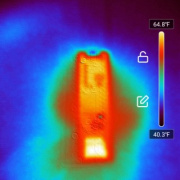
When the room is dark, the button glows bright. Shine some light on the sensor, and the button fades. It is that simple, and that is what makes it so useful.
See It in Action
We made a quick Short to show just how easy this is:
If you would like a closer look at the sensor itself and what it can do, check out the full video here:
Why Bother with a Visual Light Indicator?
Sure, you could open up a serial monitor and watch the lux values scroll by. But sometimes it is nice to see your sensor data right in front of you. A glowing button that reacts in real time is:
- Great for demos: instant feedback without needing a laptop.
- Perfect for classrooms: makes sensor data approachable and tangible.
- Handy for projects: lets the circuit tell you when it is too dark or too bright.
- Expandable: you can use the same input to trigger actions like turning on a lamp, adjusting a screen, or even closing blinds.
How to Build It
We put together a step-by-step tutorial that walks you through the wiring, code, and logic:
All you will need is:

$21.95

Qwiic Cable - 100mm
PRT-14427That's it! No soldering. No breadboards. No headache.
Wrapping Up
This project is a simple example of how powerful the Qwiic ecosystem can be. With just a few parts, you can go from idea to working circuit in minutes. Want to show off your own Qwiic Circuit Creation? Share it with us on the SparkFun Community Forum or tag us on social. We would love to see what you build!