Hardware Hump Day: DIY Firefly LED Bracelet
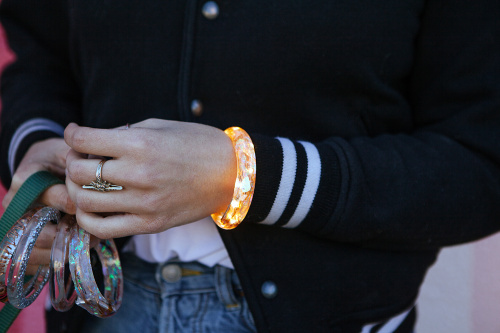
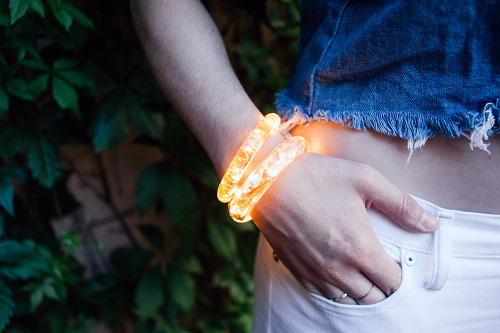
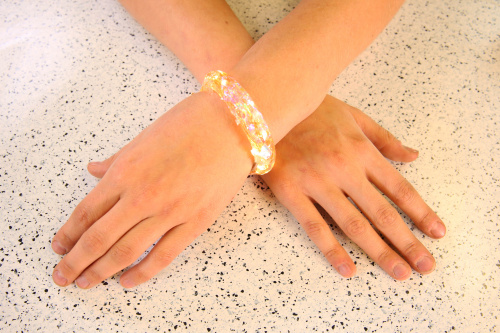
Light up the party (and your wrist!) with this DIY Firefly LED Bracelet.
I've been playing with the idea of embedding LEDs into jewelry for a while now, because everyone loves something pretty that lights up. Right?! I've also been really curious about resin casting, and how I might be able to leverage it for building enclosures. I finally decided to give both a try for this week's edition of Hardware Hump Day. While it may seem like a simple concept electronically (power some LEDs with a battery, done), making electronics for wearable usage is actually an interesting and challenging design problem, and the fabrication takes time, consideration and lots of iteration.
When we talk about wearables, it's important to consider what it means to wear anything. Our clothes and accessories are, in a many ways, how we express who we are to the outside world. In order to make a successful wearable, it's important to consider that the object should not only function electronically, but also look and feel good to the user. When designing jewelry, we have the added challenge of having to keep the power and parts small enough to either fit inside or hide.
I had a few goals for this project - I wanted it to be attractive, chargeable and actually wearable. Let's walk through this process step-by-step so that you can follow along!
First you need some supplies from your local craft store (or Etsy or Amazon if your craft store's stock isn't up to snuff).
Glitter (totally optional)
Paper Clip
You will also need the following supplies from SparkFun:
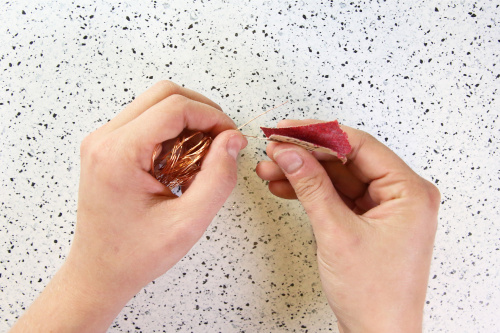
Start by sanding down the leads on the Fairy String LEDs. If you haven't already, you will need to snip away any hardware that might have come with them to adapt to a wall or battery source.
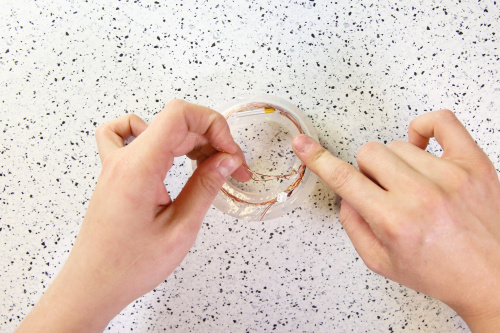
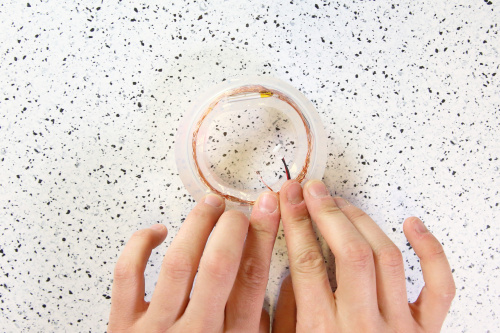
Place the Lipo Battery in the Silicone Mold, followed by the string of lights. Make sure you keep the sanded down LED leads and Lipo connector out of the mold.
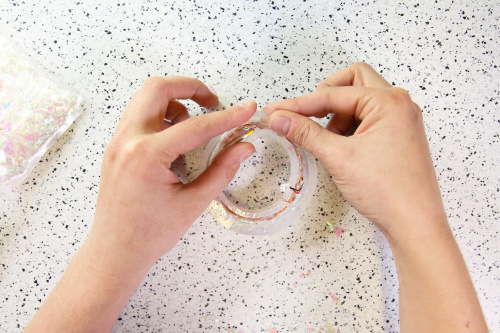
Fill the mold up with as much glitter as it will hold. (This is optional. If you don't like or want glitter - skip this step!)
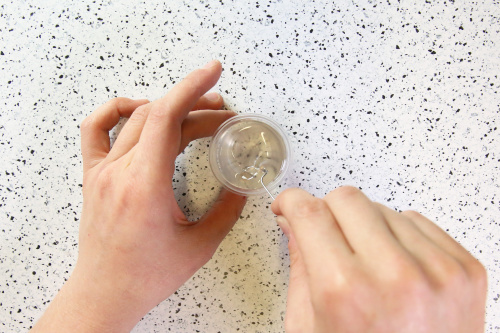
Following the instructions on the packaging, pour the Epoxy mix into the mixing cup and use a paper clip to mix it together. Mix slowly as to avoid making air bubbles.
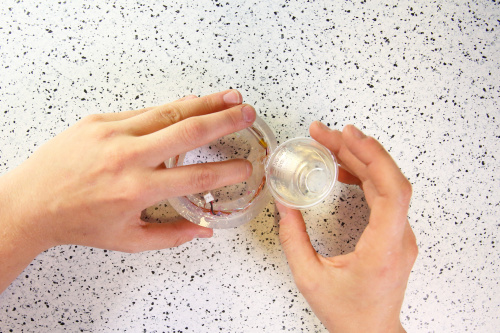
Pour the mixed Epoxy into the bracelet mold, setting all your electronic parts and glitter inside of the bracelet.
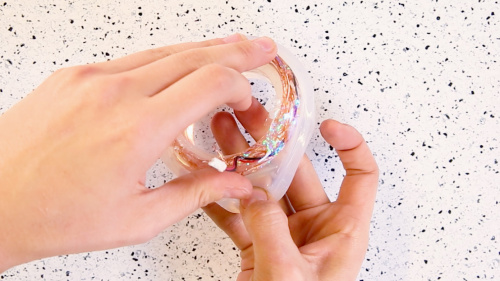
After 24 hours, remove the bracelet from the mold.
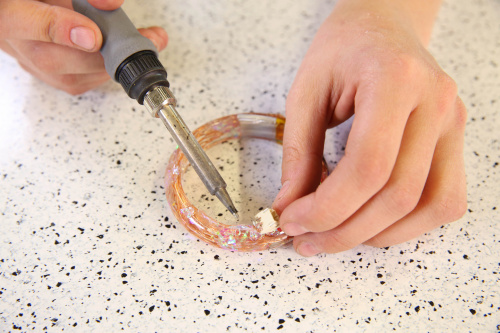
Find the + and - lead by using a multimeter or power source, and then solder on a JST connector accordingly.
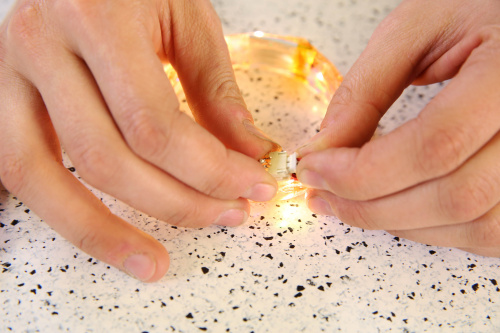
Finally, pop your LiPo connection into the soldered JST connector and enjoy the light!
There you have it! Now go make one for yourself and enjoy all the attention you get for having the coolest jewelry ever.
While I managed to hit my three goals for this project (it's pretty, chargeable and actually wearable) there is still a functionality issue that needs to be addressed. The battery, while small enough to hide inside the mold, drains power extremely quickly when in use. In order for this to be a successful wearable object, it needs to remain powered on for much longer.
How would you manage power for this bracelet? How would you use resin casting to enhance project fabrication techniques?
Interested in learning more about LEDs?
See our LED page for everything you need to know to start using these components in your project.
