The Basics of Buttons and Switches
Buttons and switches are some of the basic blocks of a project and we have plenty to offer, as well as some interesting circuits to use them on!
Buttons and switches are among the most basic, and sometimes necessary, parts in an electronics project. They provide you with the means to interact with your code to display data on screens, turn on an LED, run a script, reset your board and more. Switches don’t require any fancy equations to evaluate - all they do is select between an open circuit and a short circuit. Simple. If HAL 9000 had had a single off switch, it would have made a lot of things easier!
Over the years, we've offered both common and unique buttons and switches in our catalog. Each and every one of the components we've offered, from momentary to maintained, SPST to DPDT, has usually been associated with a build, project or tutorial. You'd be hard pressed to find a design that doesn't include a button or a switch in one way or another. Heck, a button was even one of our first products and we still offer it!
In today's post, we are going to focus on a few of our favorite buttons and switches, as well as some tutorials and projects that include them!
Buttons
PRT-14460
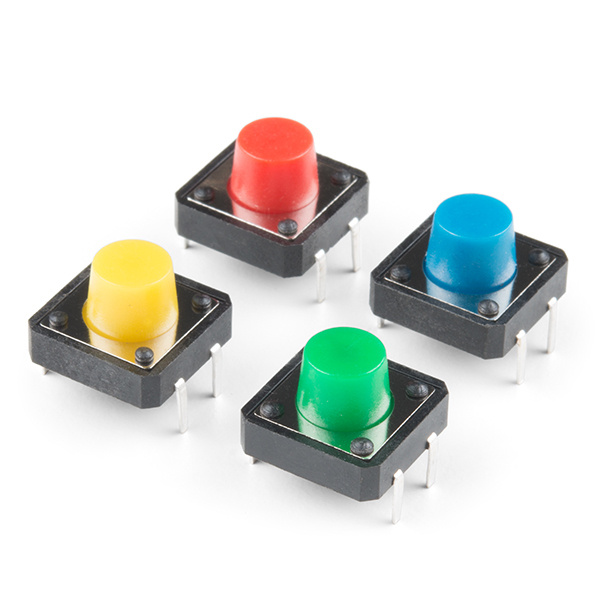
This is a simple 4-pack of momentary, multicolor buttons, great for all sorts of projects! Unlike previous iterations of mult…
COM-10302
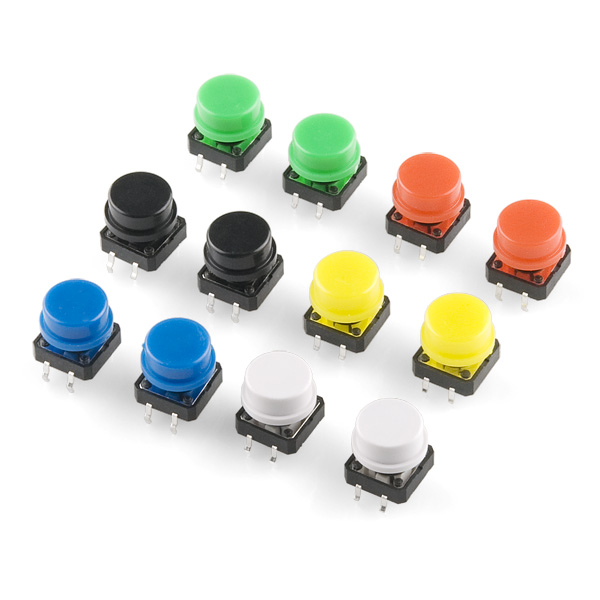
This is a simple 12-pack of momentary, multicolor buttons, great for all sorts of projects!
COM-00097
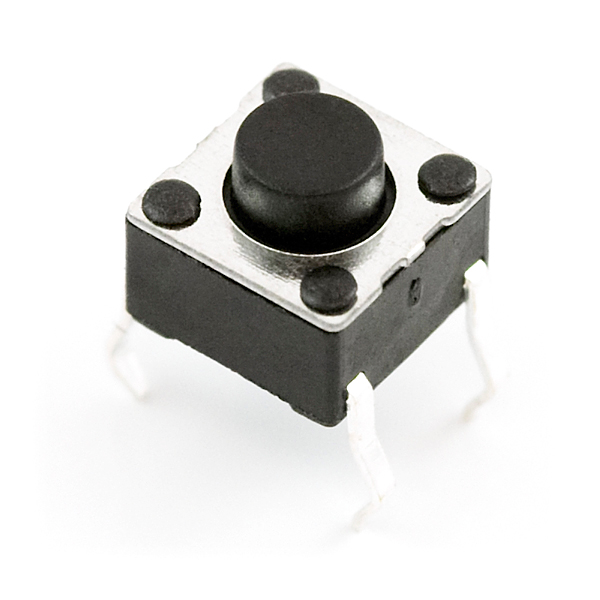
We use these little buttons on everything! These Miniature Single Pole Single Throw switches have a good click to them and ar…
COM-09190
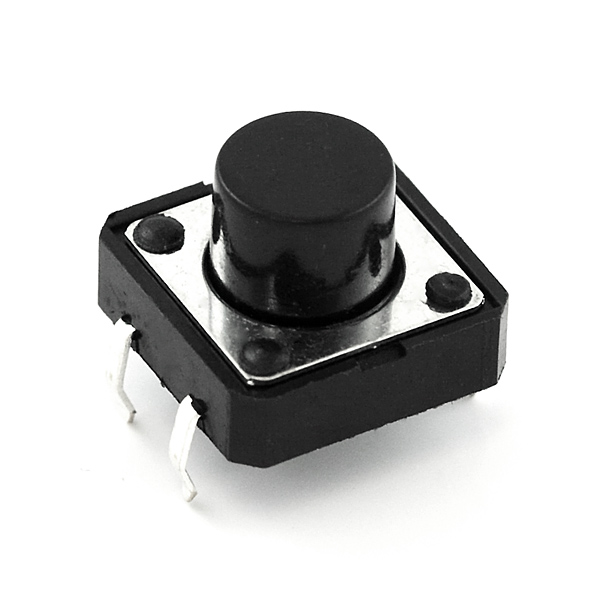
This is a standard 12mm square momentary button. What we really like is the large button head and good tactile feel (it 'clic…
The easiest way to start using a button is without any soldering required - that means you should be using a breadboard. By simply bending the leads of these push-buttons, they can easily be used to test a circuit or plan a project.
COM-09336
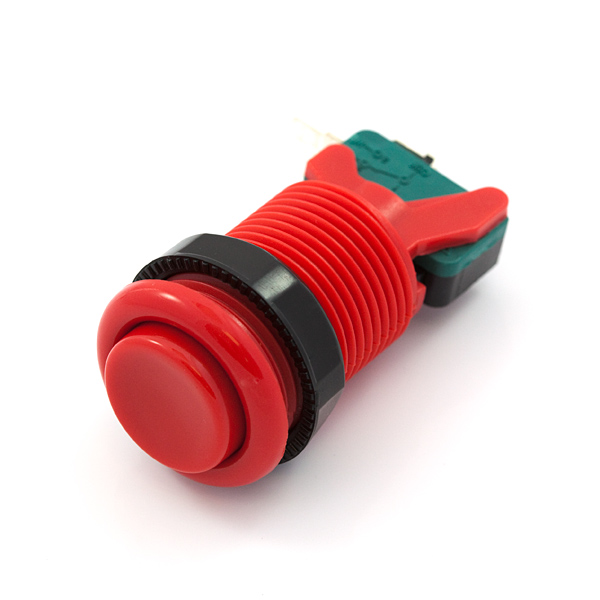
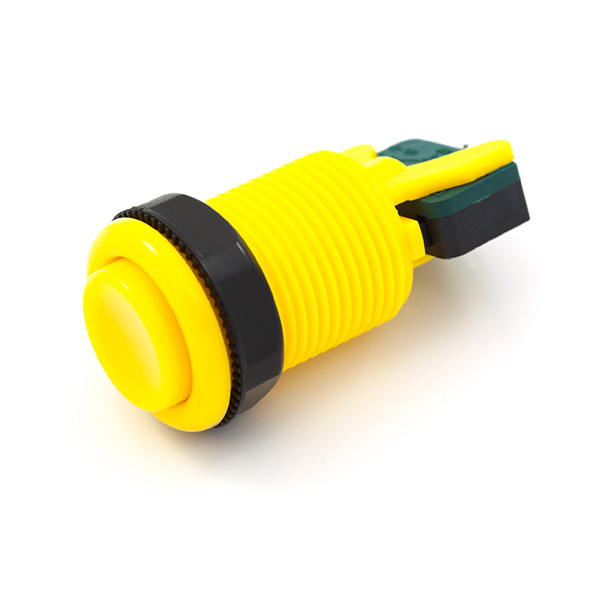
This is a 35mm concave momentary push button similar to the ones you find on arcade games. Simple screw in design. Perfect fo…
COM-09337
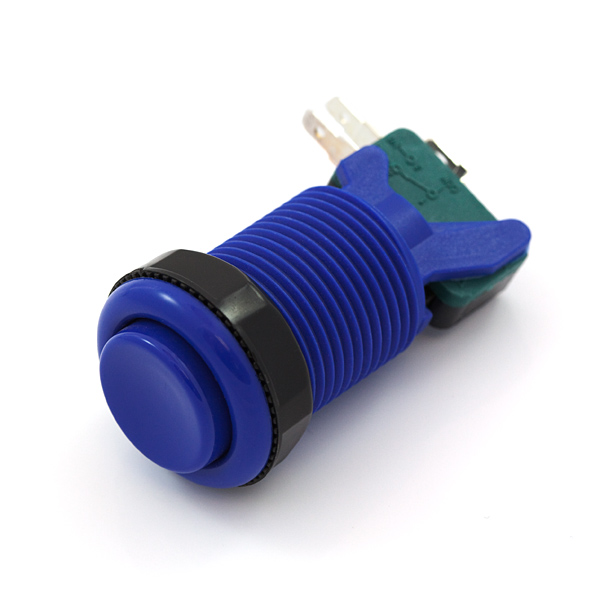
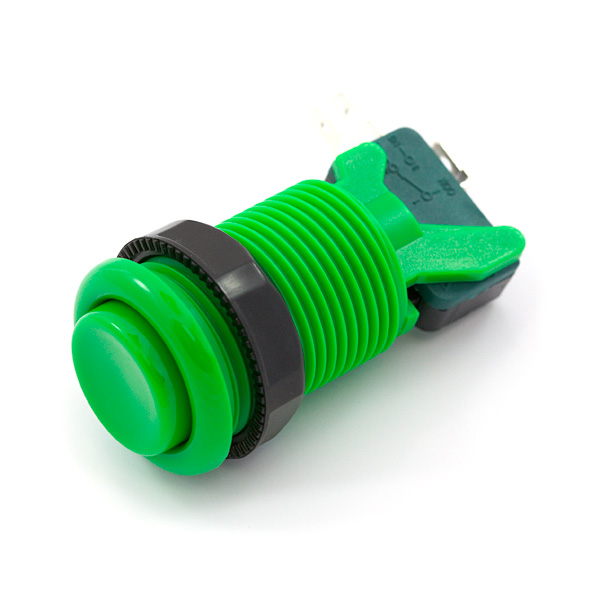
This is a 35mm concave momentary push button similar to the ones you find on arcade games. Simple screw in design. Perfect fo…
COM-09338
This is a 35mm concave momentary push button similar to the ones you find on arcade games. Simple screw in design. Perfect fo…
COM-09341
This is a 35mm concave momentary push button similar to the ones you find on arcade games. Simple screw in design. Perfect fo…
These concave buttons are the same ones found in a majority of American arcade cabinets (fun fact: Japanese arcade cabinets tend to use convex or domed buttons). We even use them in our PiRetrocade and micro:arcade kits.
COM-09181
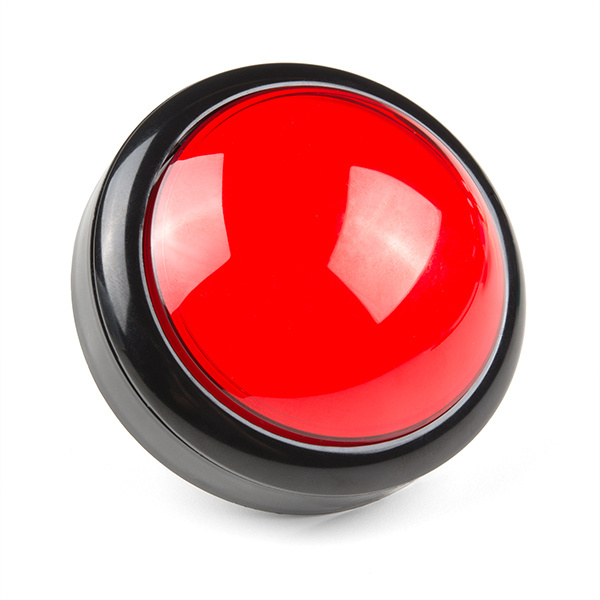
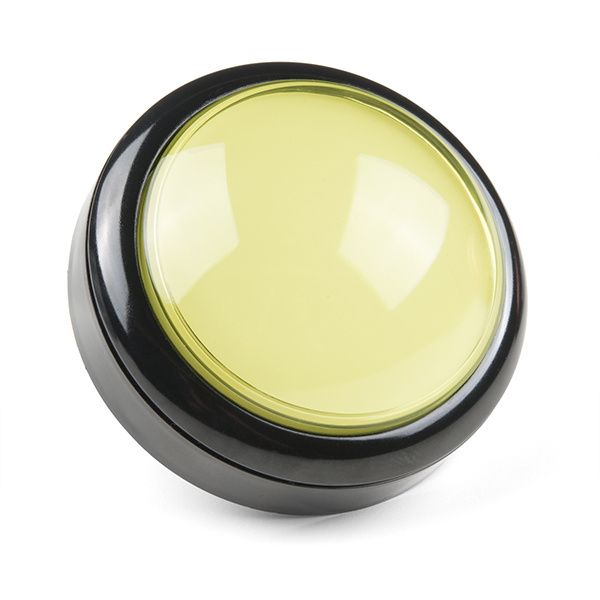
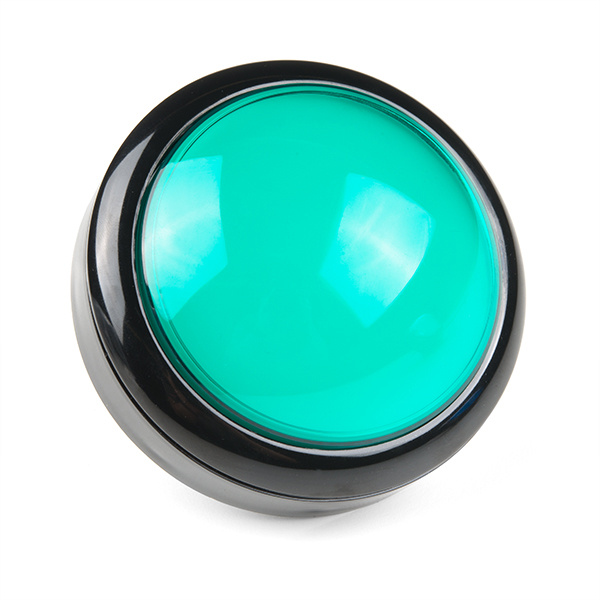
It's the end of the world, and you need a button to press. This is it. A 100mm diameter (outside diameter) dome illuminated p…
COM-11274
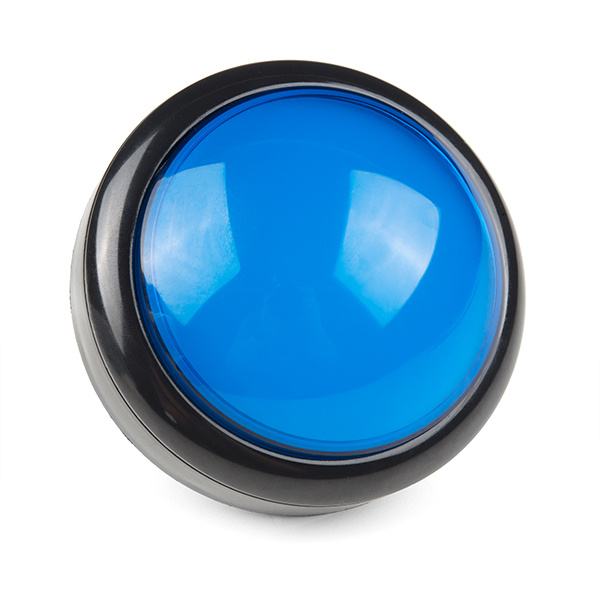
It's the end of the world, and you need a button to press. This is it. A 100mm diameter (outside diameter) dome illuminated p…
COM-11273
It's the end of the world, and you need a button to press. This is it. A 100mm diameter (outside diameter) dome illuminated p…
COM-11275
It's the end of the world, and you need a button to press. This is it. A 100mm diameter (outside diameter) dome illuminated p…
Do you need a comically large button to illustrate the end of the world? These 100 mm diameter buttons are a perfect option to add that extra "oomph" to drive the point home when you need to make a big, illuminated statement!
COM-11966
This is a perfect choice if you are in need of a heavy duty push button! These metal push buttons are a very tough, small, pa…
COM-11967
This is a perfect choice if you are in need of a heavy duty push button! These metal push buttons are a very tough, small, pa…
COM-11969
This is a perfect choice if you are in need of a heavy duty push button! These metal push buttons are a very tough, small, pa…
COM-11968
This is a perfect choice if you are in need of a heavy duty push button! These metal push buttons are a very tough, small, pa…
COM-11971
This is a perfect choice if you are in need of a heavy duty push button! These metal push buttons are a very tough, small, pa…
COM-11972
This is a perfect choice if you are in need of a heavy duty push button! These metal push buttons are a very tough, small, pa…
COM-11975
This is a perfect choice if you are in need of a heavy duty push button! These metal push buttons are a very tough, small, pa…
COM-11973
This is a perfect choice if you are in need of a heavy duty push button! These metal push buttons are a very tough, small, pa…
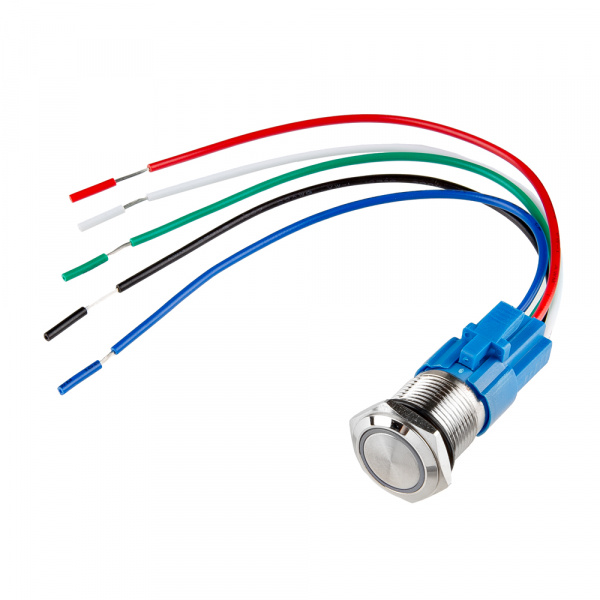
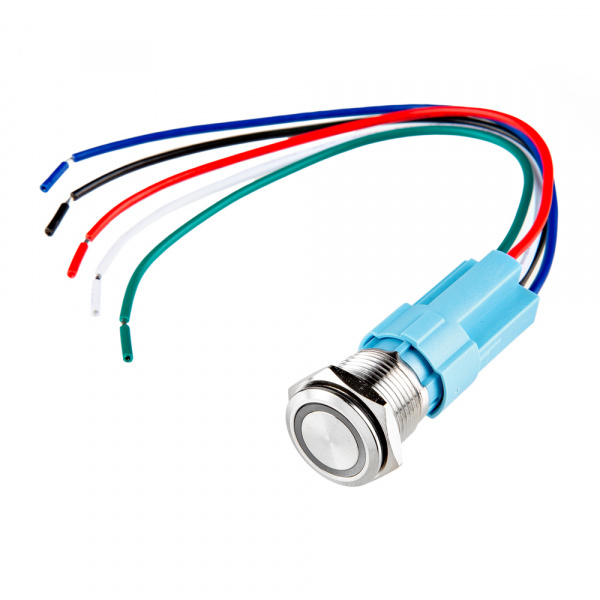
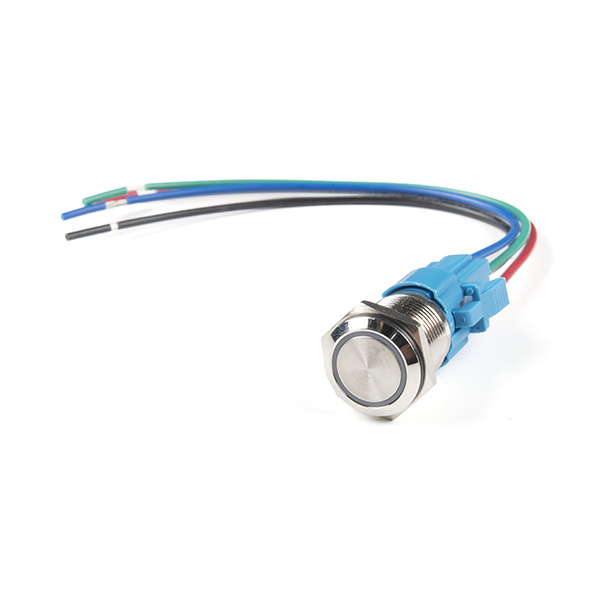
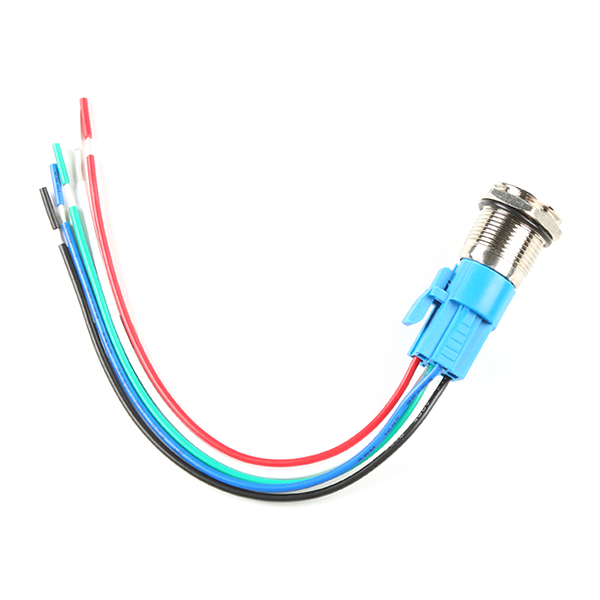
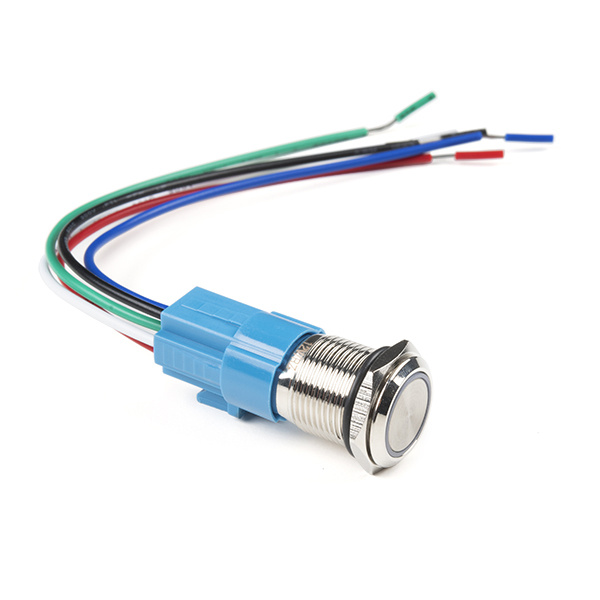
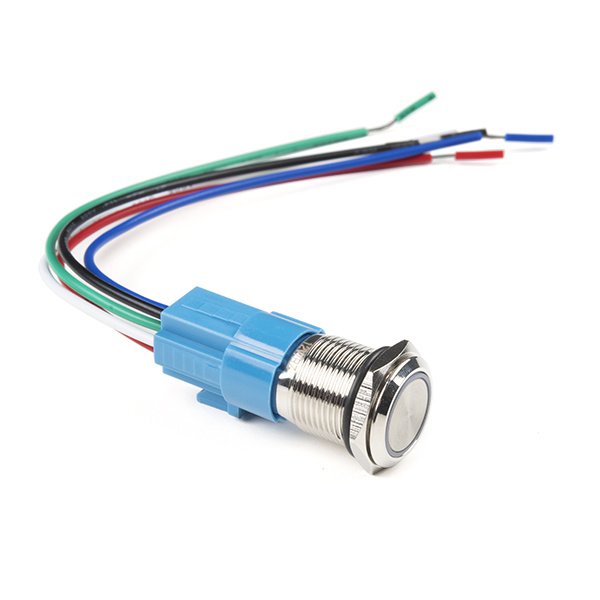
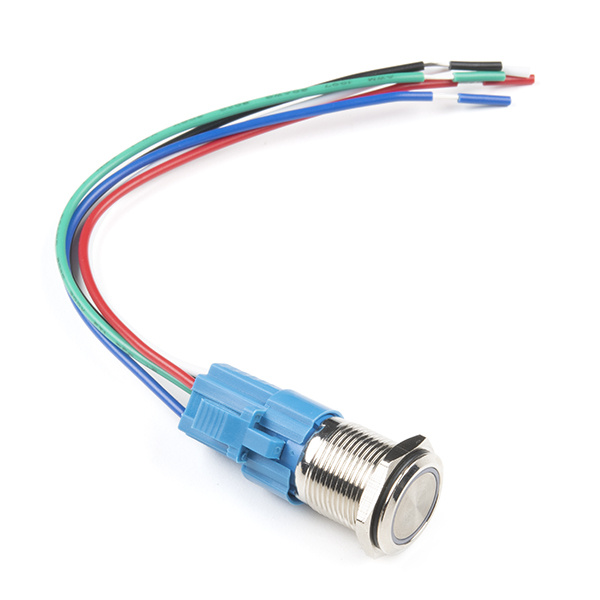
This is a perfect choice if you are in need of a heavy duty push button! These metal push buttons are tough, small, panel-mount momentary or latching switches with an illuminated red LED ring. We've used these in control panels and kill-switches for autonomous robotics.
BOB-15932
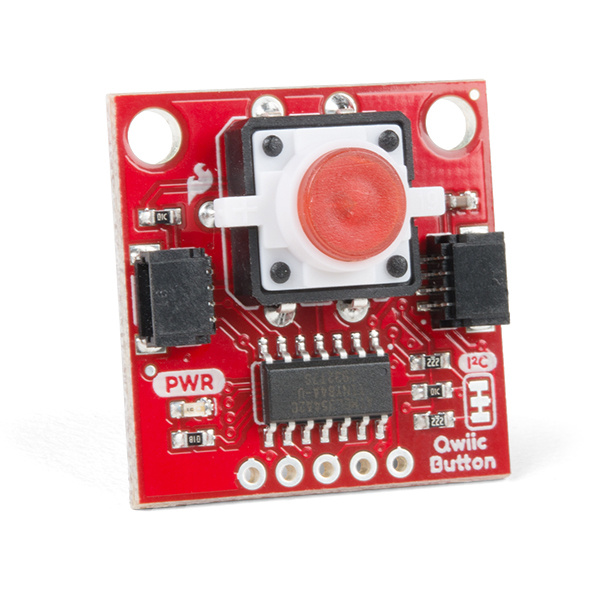
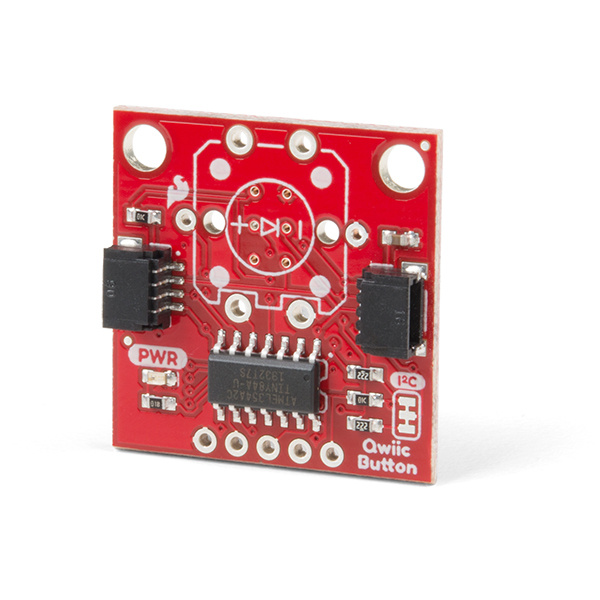
The SparkFun Qwiic Button with red LED simplifies all of those nasty worries away into an easy to use I2C device, no solderin…
BOB-16842
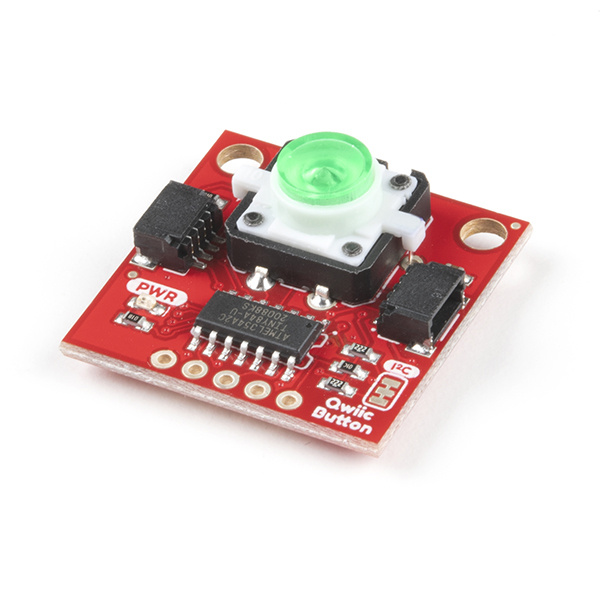
The SparkFun Qwiic Button with green LED simplifies all of those nasty worries away into an easy to use I2C device, no solder…
BOB-15931
The SparkFun Qwiic Button Breakout simplifies all of those nasty worries away into an easy to use I2C device, and with our Qw…
COM-08033
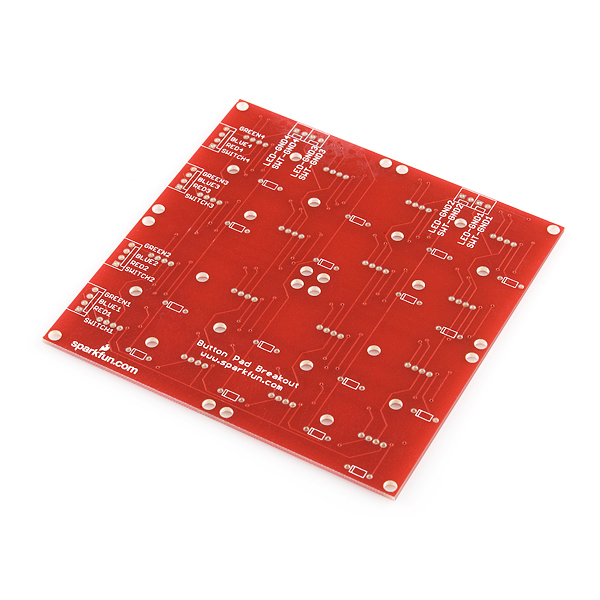
This a simple breakout PCB for our [4x4 silicone button pads](https://www.sparkfun.com/products/7835). Each LED and button ca…
If you need an easier way to complete a circuit or have a breakout that has the IC units, resistors and capacitors already incorporated, our Qwiic Buttons are an easy way to interact with your project. Of course if you want to have a large installation of illuminated buttons (we made a Tetris wall-mounted art piece back in the day that's still on display at SparkFun HQ), we also offer two version to get you started!
COM-15290
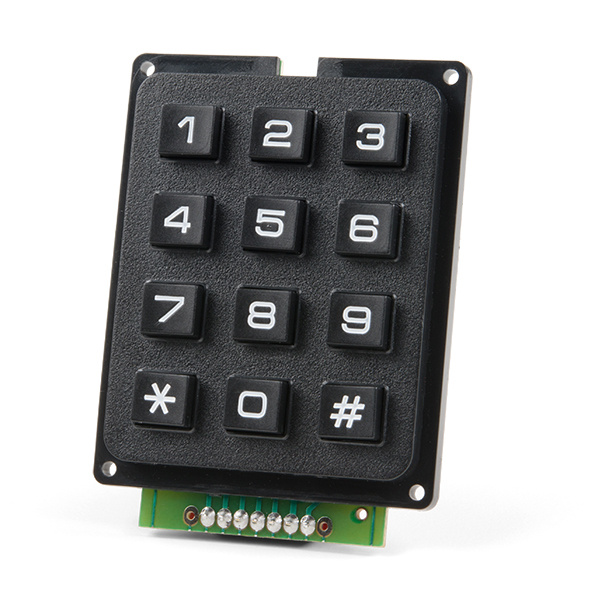
The SparkFun Qwiic Keypad comes fully assembled and makes the development process for adding a 12 button keypad easy.
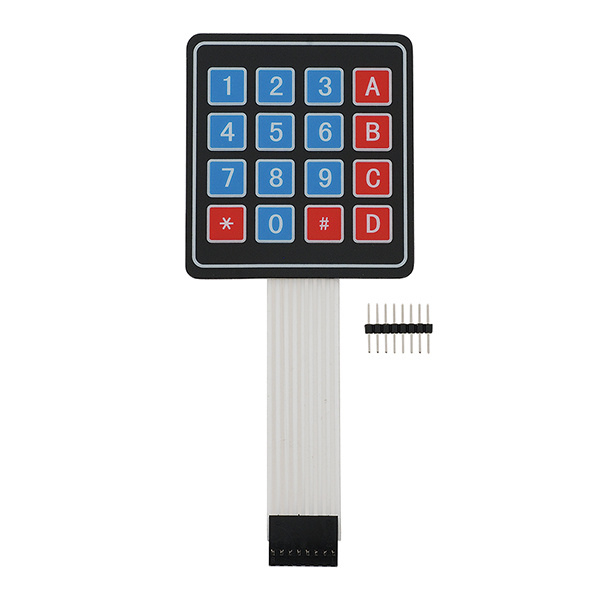
4x4 Matrix Membrane Keypad
COM-16038
This slim, 16-button keypad provides a useful human interface component for microcontroller projects.
Retired
BOB-13773
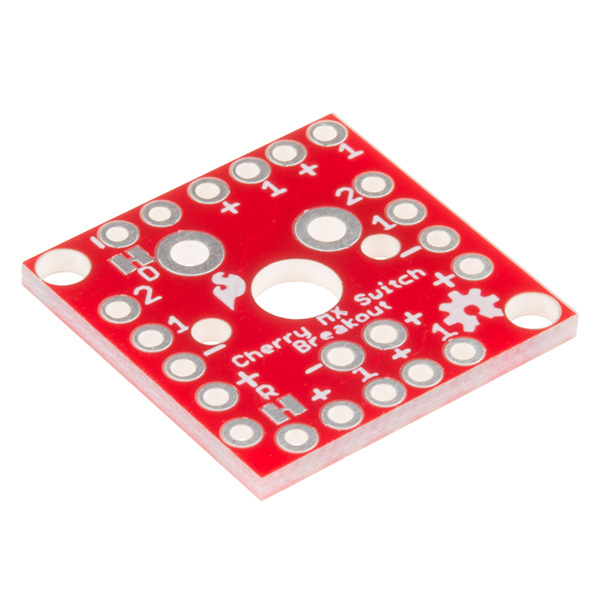
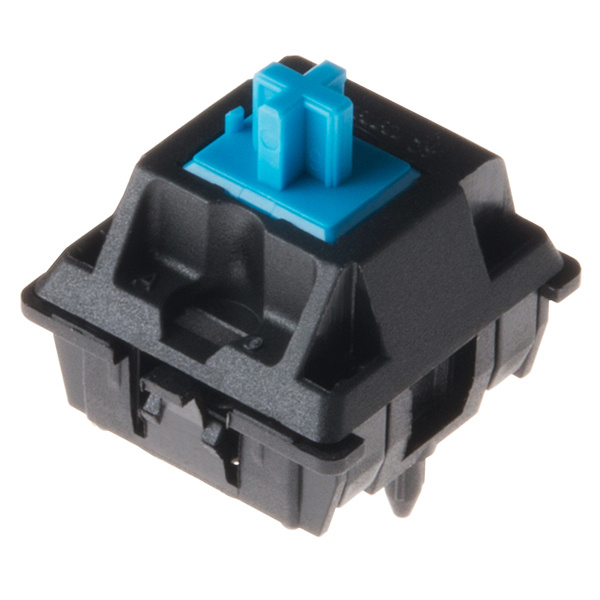
Cherry MX Keyswitches are top-of-the-line mechanical keyboard switches. They’re satisfyingly “clicky”, reliable up to t…
COM-13834
Cherry MX Keyswitches are top-of-the-line mechanical keyboard switches. They’re satisfyingly “clicky”, reliable up to t…
The last section of buttons that we want to cover are keypads. Keypads allow you to create simple groups of inputs without needing to worry about wiring if they are already assembled, or allow you to fully customize what you want your set-up to be if they aren't!
Switches
COM-00102
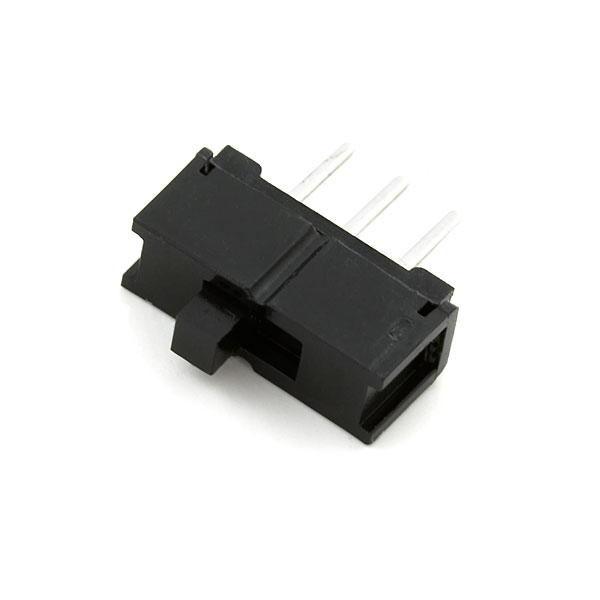
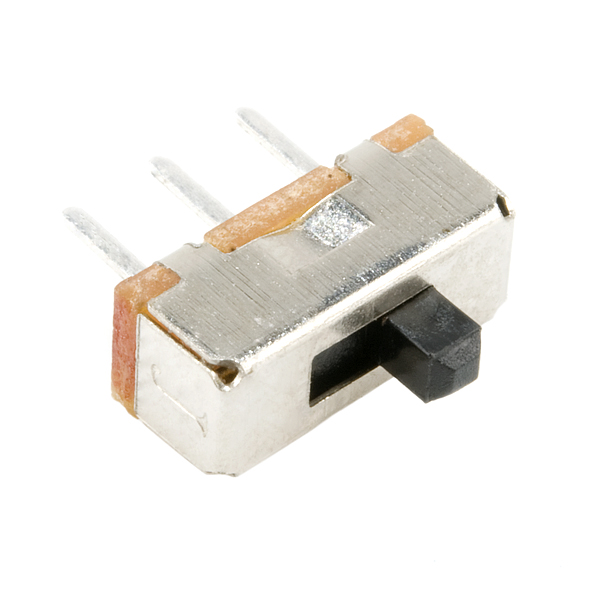
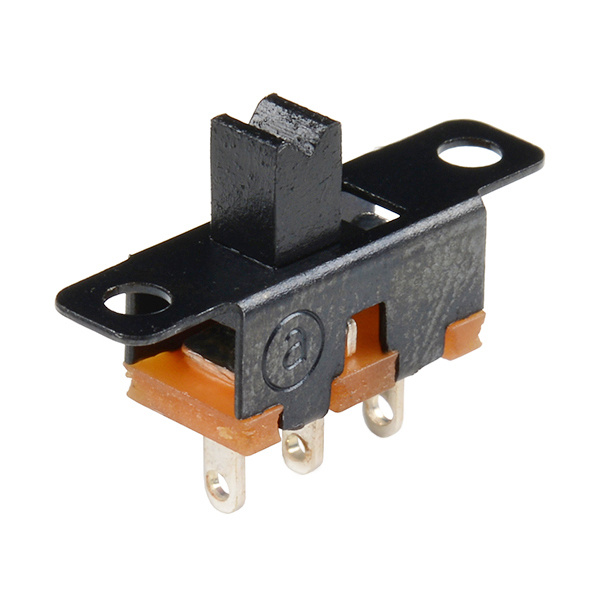
Simple SPDT slide switch. Rated at 30V/200mA. The pins have .1" spacing - fits great into a breadboard! Use it as a power swi…
COM-09609
This is a simple SPDT slide switch - great for use as an ON/OFF button, or just as a general control switch. The pins are spa…
PRT-14330
This is a mountable SPDT slide switch --- great for use as a general control switch. The pins are spaced by 3.7mm (0.14"), ma…
Retired
COM-10063
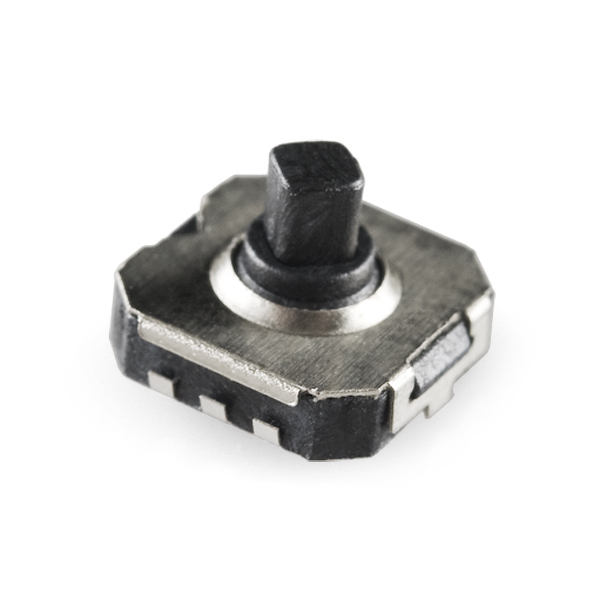
A 5-way tactile switch allows for a joystick-like interface in a very small package. These are surface mount, but easily sold…
Let's look at the basics: You need to turn something on or off, you need to complete or interrupt a circuit, or you just need to exert general control over your project. These are just some of the options for you!
COM-08837
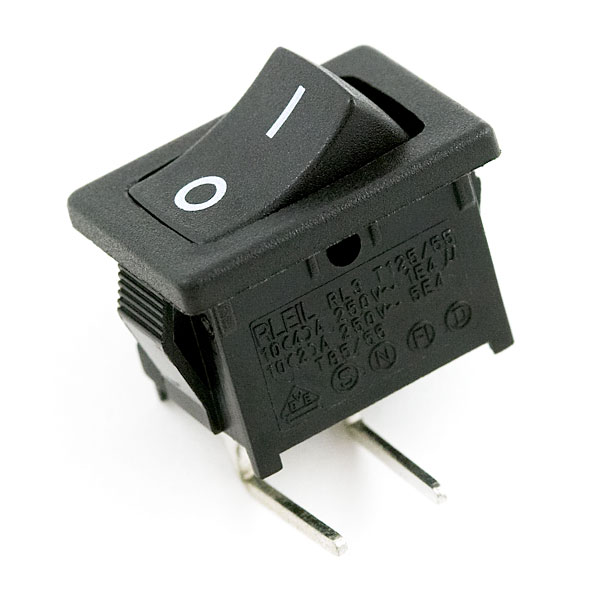
Your project will probably need an on/off switch. If you plan to house the project in an enclosure, we found this great rocke…
COM-11138
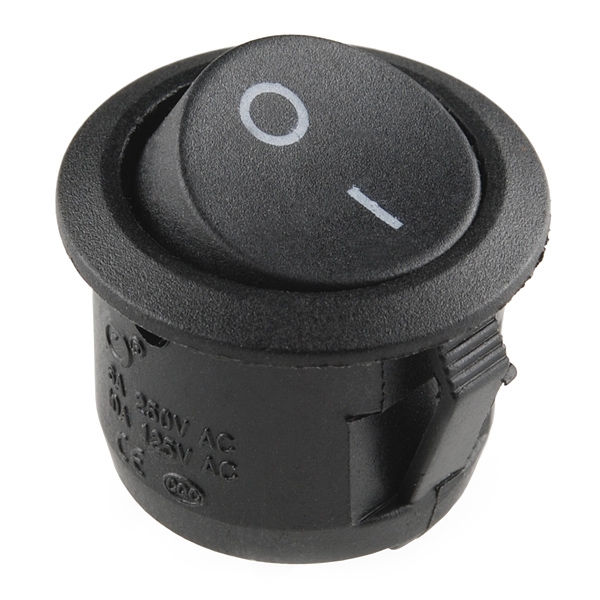
This little round on/off toggle switch is rated up to 10A at 125VAC and can be panel mounted in a 20mm diameter hole. It'll a…
COM-11155
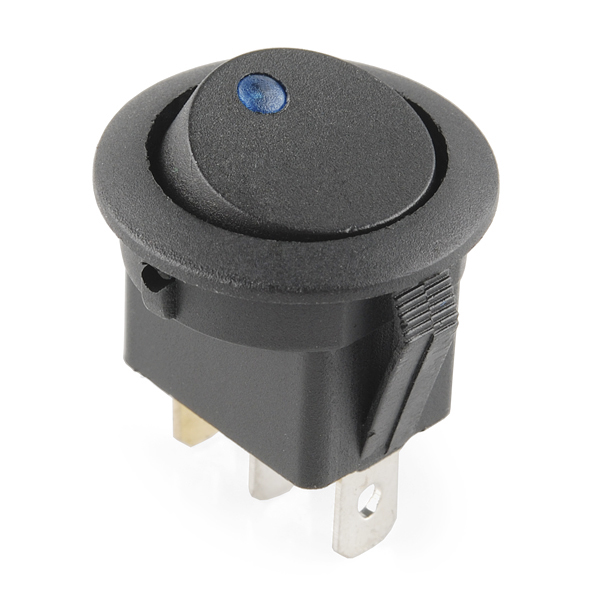
These panel-mounting rocker switches have built-in indicator lights to let you know when your switch is engaged. They mount i…
COM-14978
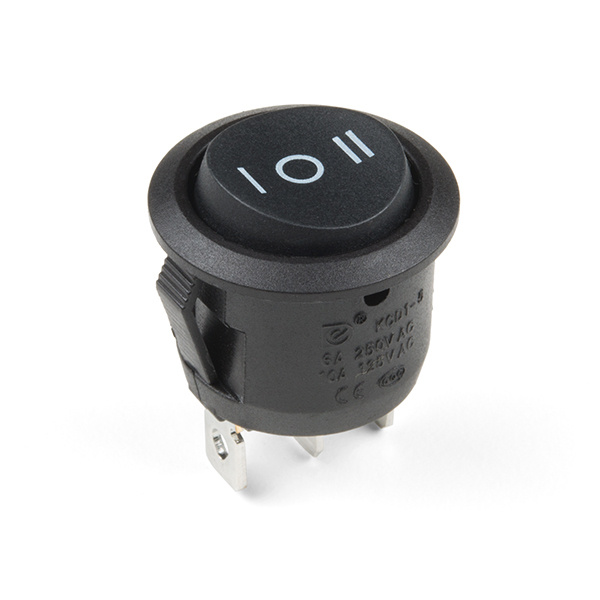
This little round on/off/on toggle switch is rated up to 10A at 125VAC and can be panel mounted in a 20mm diameter hole.
To be fair, rocker switches aren't too dissimilar from the normal "slide switches" you see above, but these provide you with a more appealing and manageble surface mount option, especially when trying to make a complete and enclosed project. Switches like these can be found on our RTK Surveyor!
COM-09276
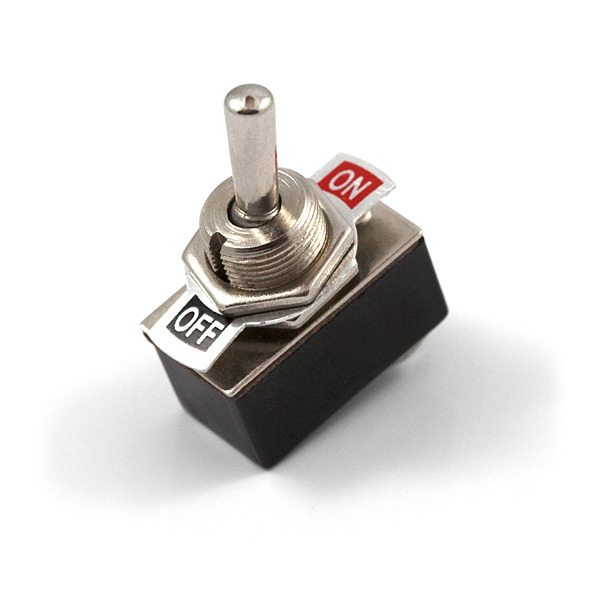
This is a heavy duty SPST toggle switch - your basic on/off toggle. Rated for 2A at 250V or 4A at 125V. Includes a face plate…
COM-11310
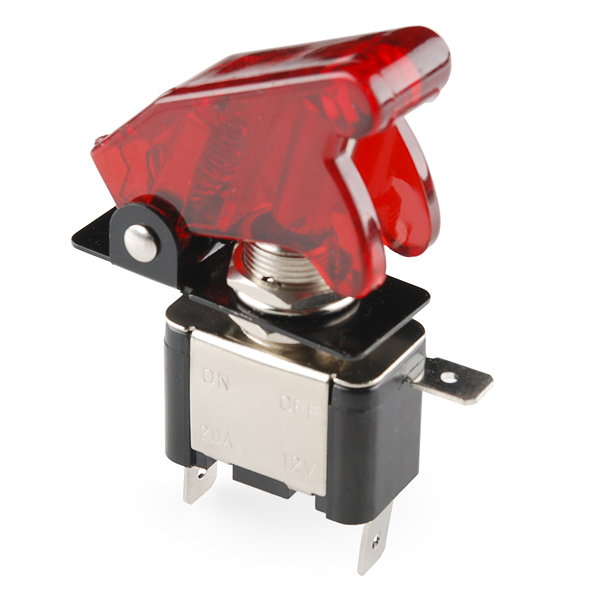
This simple on-off switch is rated for 20A at 12V but who cares about all that, it looks way awesome. These toggle switches c…
Toggle Switch - SPDT, ON-ON
COM-16723
This is a toggle switch with a Voltage Rating AC of 125 VAC and a life of 30000 Cycles.
Retired
COM-09278
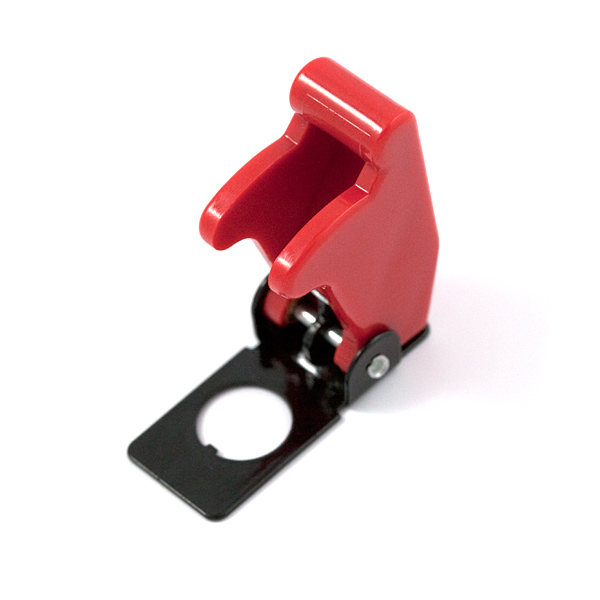
It's not what project you have in mind that may use a rocket launch switch... The question is what project will you come up w…
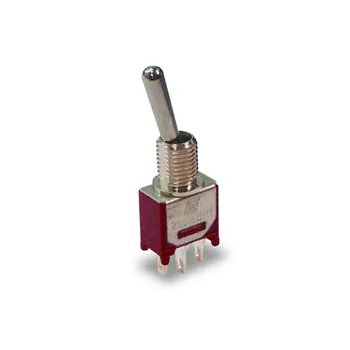
Toggle switches are a pretty unique form of circuit component due to their lever actuators, which swing back and forth to open or close a circuit. We carry multiple types of this type of switch, and they look really nice on an enclosed project if you need to make a big deal about whether or not something is on.
COM-09032
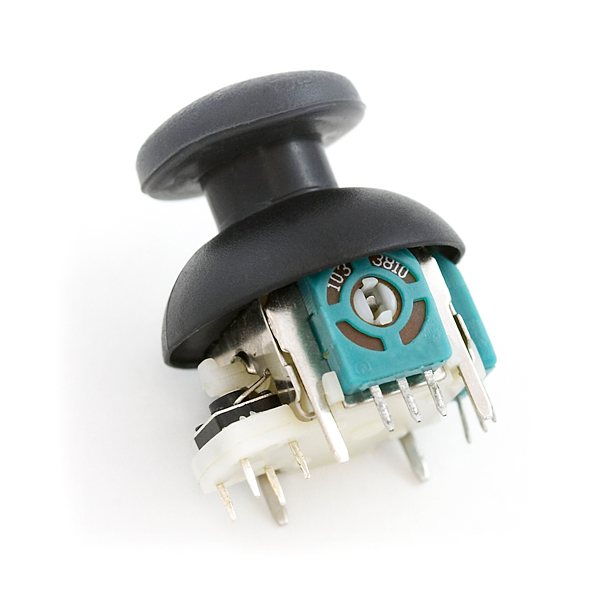
Add arcade-style control to your project with this analog thumb joystick. If you have ever used a PlayStation 2 controller, y…
COM-16273
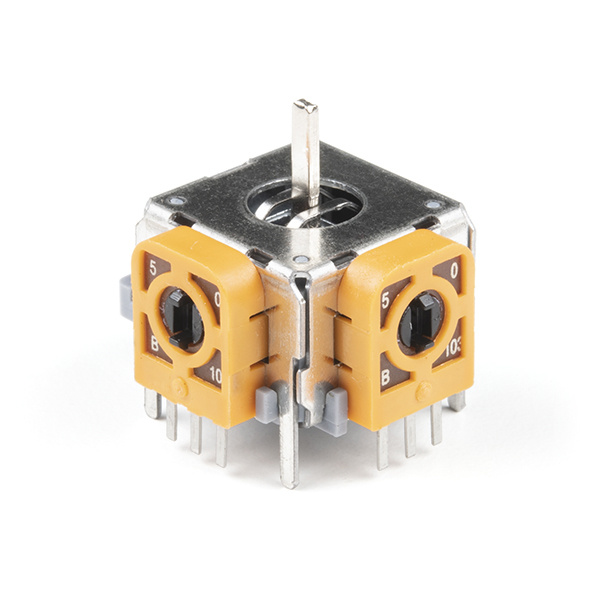
This is a 16mm thumb joystick.
COM-15168
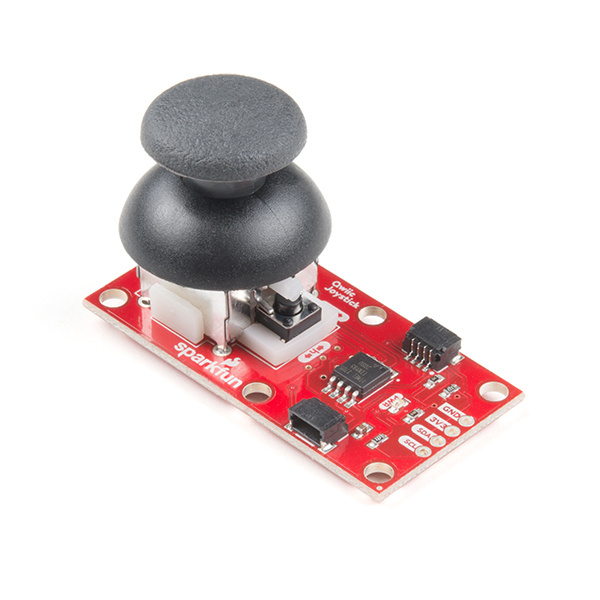
The SparkFun Qwiic Joystick combines the convenience of the Qwiic connection system and an analog joystick.
COM-09136
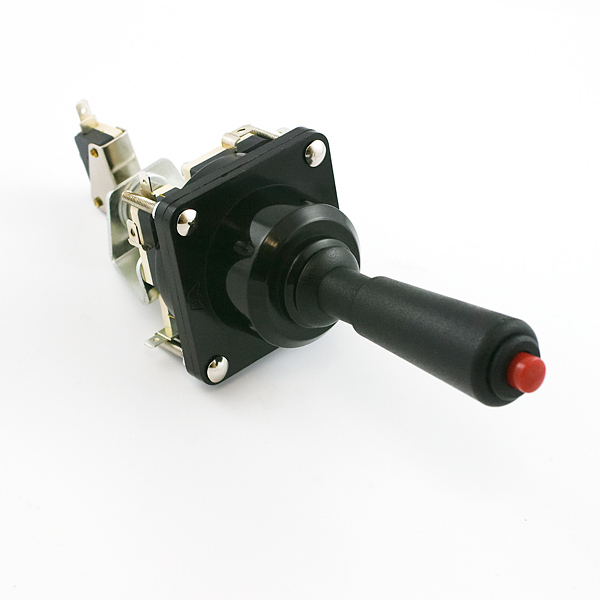
This is a heavy-duty joystick very similar to the ones in [claw](http://en.wikipedia.org/wiki/Claw_vending_machine) arcade ga…
Retired
If you've played a video game on a console within the last few years, you've more than likely used a joystick. Unlike normal switches, joysticks allow you to control movements of sprites on a screen, robots in the field, or a cursor in a menu thanks to multiple potentiometers inside the joystick itself!
COM-10601
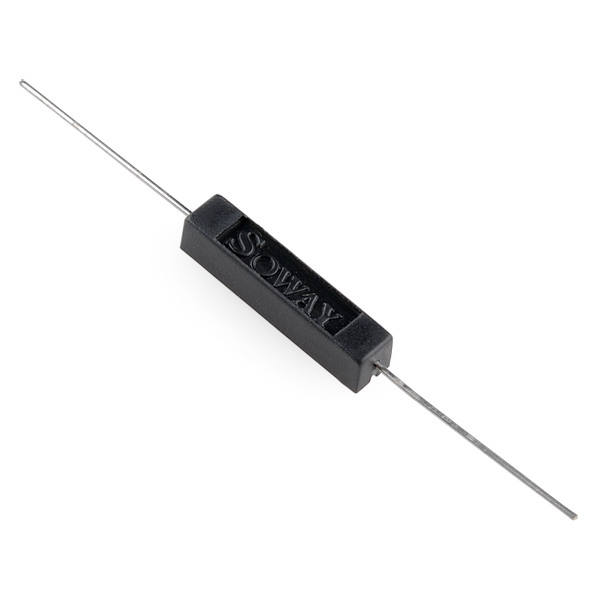
This is a small device called a [reed switch](http://en.wikipedia.org/wiki/Reed_switch). When the device is exposed to a magn…
COM-08642
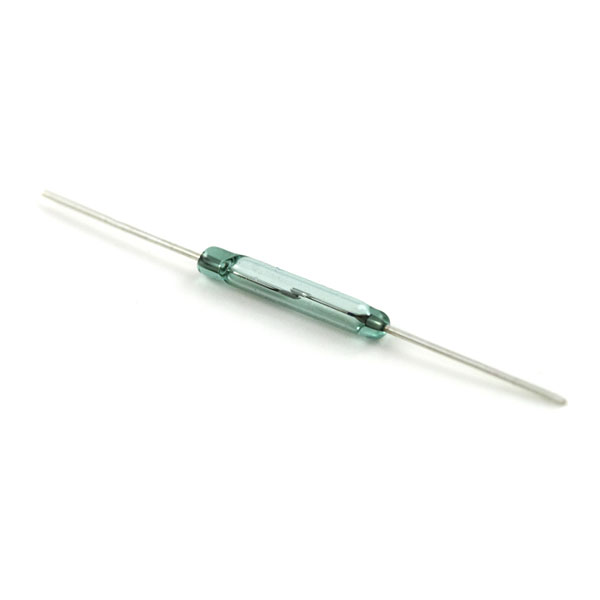
This is a small device called a [reed switch](http://en.wikipedia.org/wiki/Reed_switch). When the device is exposed to a magn…
DEV-13343
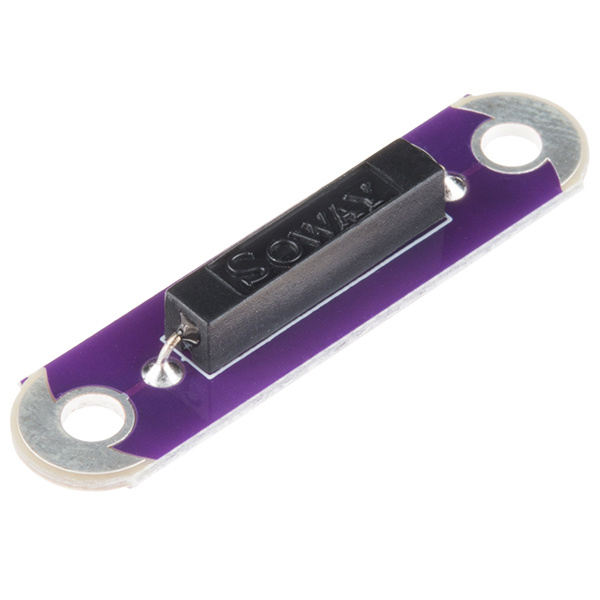
The LilyPad Reed Switch is a simple breakout for a reed switch that will make it easy to use in e-textiles circuits in exactl…
COM-13247
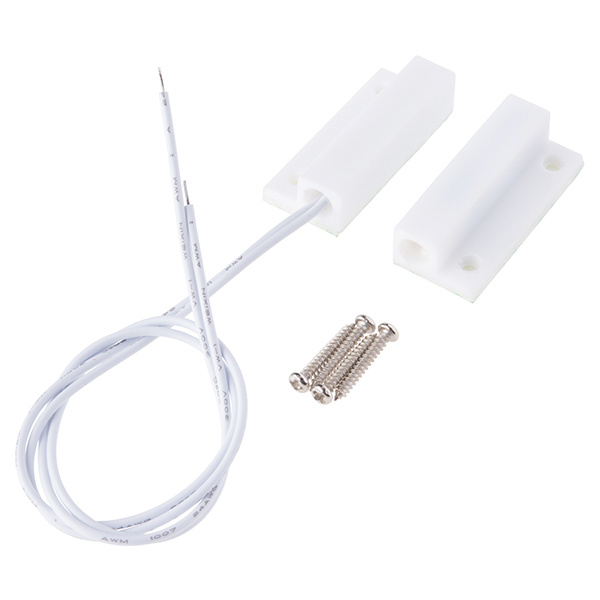
This is the Magnetic Door Switch Set, a small reed switch assembly specifically designed to alert you when doors, drawers, or…
The last switch we'll cover today are Reed Switches. When the switch is exposed to a magnetic field, the two ferrous materials inside pull together and the circuit closes. When the magnetic field is removed, the reeds separate and the circuit opens. This makes for a great non-contact option if you want to know when something physically opens or closes, or gets too close to a sensitive instrument.
Tutorials and projects
If you are going to start using buttons or switches, we highly recommend checking out our Button and Switch Basics Tutorial. Here we explain the difference between momentary and maintained switches, what all those acronyms (NO, NC, SPDT, SPST, ...) stand for, and more.
Button and Switch Basics
May 7, 2013
A tutorial on electronics' most overlooked and underappreciated component: the switch! Here we explain the difference between momentary and maintained switches and what all those acronyms (NO, NC, SPDT, SPST, ...) stand for.
Of course, you may already be (and most likely are) familiar with how to use switches and buttons, so why not check out some of these other tutorials and blogs to get some new ideas, or improve a current one!
Wireless RC Robot with Arduino and XBees
In this tutorial, we will expand on the SIK for RedBot to control the robot wirelessly with XBee radios! We'll explore a different microcontroller and wirelessly control the RedBot at a distance.
Reed Switch Hookup Guide
Magnetically-actuated reed switches are the perfect component for non-contact proximity sensors. This tutorial provides a quick overview and example hook up.
Reaction Timer
Demonstrate mental chronometry with this simple reaction timer!
Light-Up Plush
Craft a light-up plush with LilyPad LEDs controlled by pressing a button and sliding a switch in the creature's hands.
Adding a Timed Button to a Project
This tutorial will walk you through making a timed power controller for interactive projects. You will learn how to add an on button that will provide power to your project for an amount of time and then turn off again.
Endless Runner Game
We make a simple side-scrolling endless runner game using parts from the SparkFun Inventor's Kit v4.0.
Build a Qwiic Jukebox that is Toddler Approved!
Follow this tutorial to build your own custom jukebox. Note, this is designed simple and tough for use primarily with toddlers. It's also a great introduction to SparkFun's Qwiic products!
Thumb Joystick Hookup Guide
Whether you're blasting aliens, driving a robot, or write your awesome classic Arcade Game for your Arduino, you'll find the analog thumb joystick a very useful addition to your projects!
Secure DIY Garage Door Opener
Did you know that most garage doors are at risk of a roll jam attack? Here we make a DIY garage door remote-control system that is much more secure than most commercial-ready products using the latest in ECC cryptography.
Qwiic Joystick Hookup Guide
Looking for an easy way to implement a joystick to your next Arduino or Raspberry Pi project? This hookup guide will walk you through using the Qwiic Joystick with the Arduino IDE on a RedBoard Qwiic and in Python on a Raspberry Pi.
Processor Interrupts with Arduino
What is an interrupt? In a nutshell, there is a method by which a processor can execute its normal program while continuously monitoring for some kind of event, or interrupt. There are two types of interrupts: hardware and software interrupts. For the purposes of this tutorial, we will focus on hardware interrupts.
GPS Geo-Mapping at the Push of a Button
Let's ramp up our GPS tracking skills with KML files and Google Earth. We'll make a tracker that logs location and allows us to visualize our steps with Google Earth.
And that's everything! Well... not everything, but it's a lot! Buttons and switches are a mainstay to every product and we hope you have more information and data to use in your next build. Let us know what your favorite to button to use in the comments below and we'll see you next time!
